Suspension Winch
When I first decided to do this modification I was most excited about being able to nose down on uphill climbs. The WK isn't exactly a ground scraping COG masterpiece so I usually had my fair share of problems on steep inclines (compared to most the AX10 guys). After I got it installed I was tooling around on the backyard course and I discovered it can help out in a lot of other situations. Especially sidehilling. I can leave my suspension flexy and let it ride higher (no 100% droop setup) so as to not high center as easily and when I need to lower it for side hills & climbs, I can. Combined with the dig setup I think this will really help me in my local comps.
PARTS & SUPPLIES NEEDED
Towerpro MG945 or comparable servo
1" aluminum angle
Associated plastic servo mounts
18-22awg insulated wire
18-22awg ring tounge terminals
Misc servo horns
TOOLS
Dremel with cutoff disks
Drill with assorted bits
Soldering Iron
Screwdrivers
Lighter or butane torch
There are several writeups out there that cover how to make a servo into a winch. One of the better ones I found is here:
UKRCRC.COM
This is the writeup I followed initially and adapted for my first winch servo attempt, a measly Futaba S3004. After getting everything together I had some problems with the servo moving (even after adjusting the POT many times and gluing it) so I made a few changes. Keep in mind while you look at the pictures that I ended up mixing the Futaba servo motor with the Tower Pro servo gears & board. I had a spare TP servo but the motor went out and I felt like being cheap.
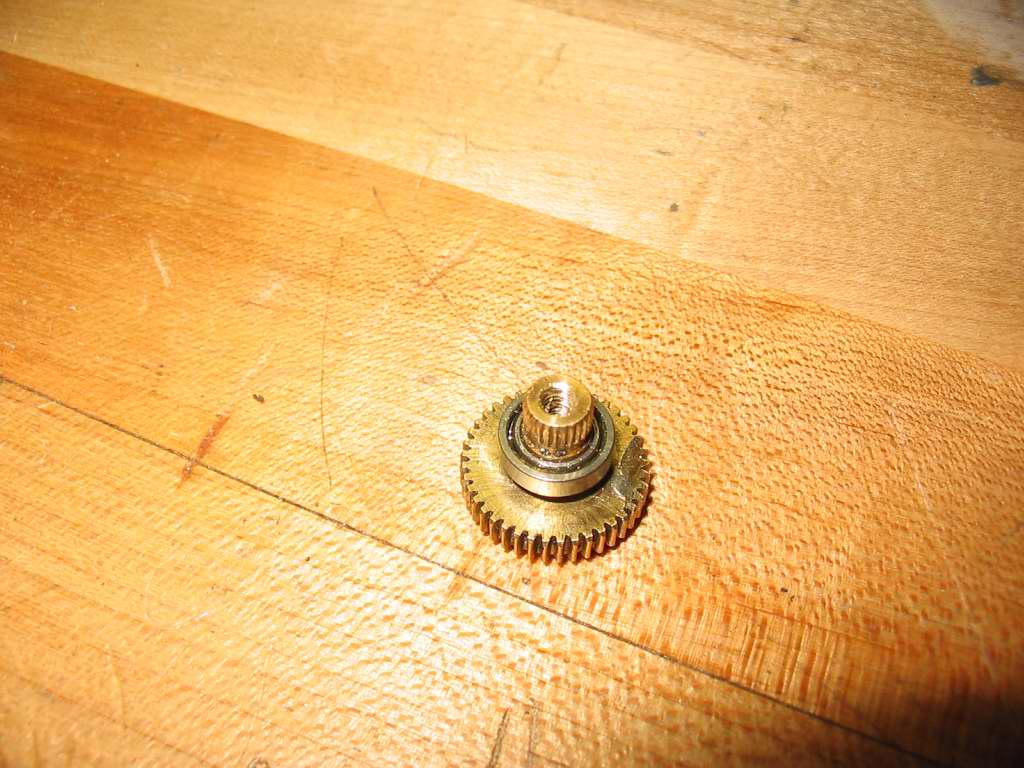
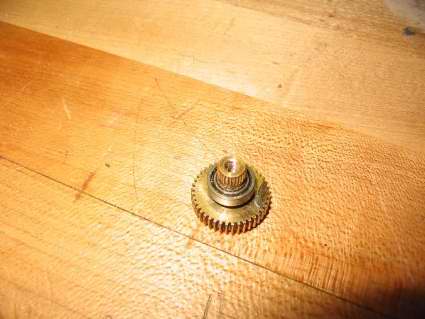
1. First I took the servo apart by removing the 4 screws from the back and pulling the case apart. I took the top off the case and pulled out the largest gear that pokes through it. Because the TP servo has a nub that cannot be pressed out, I ground it off with a dremel.
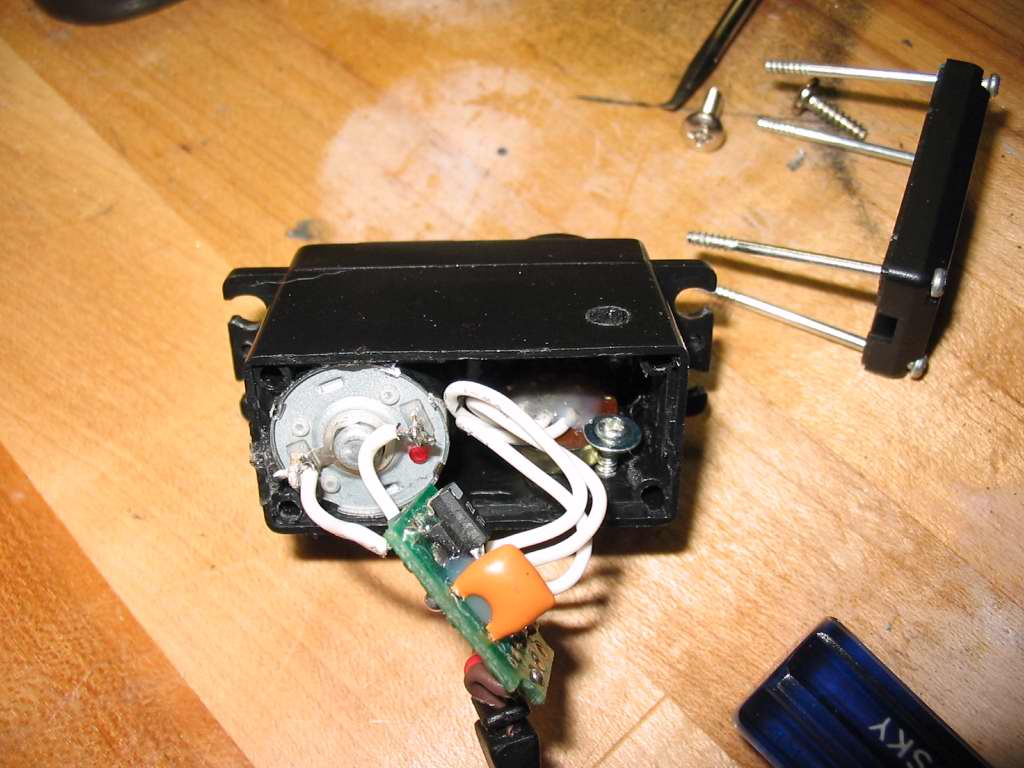
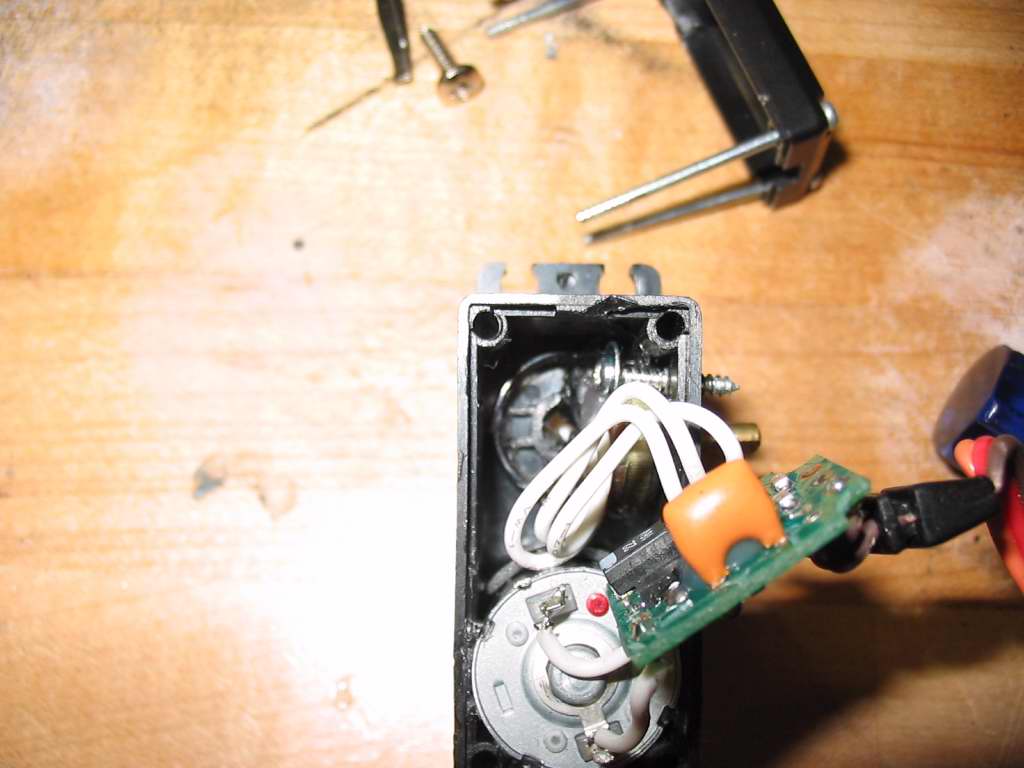
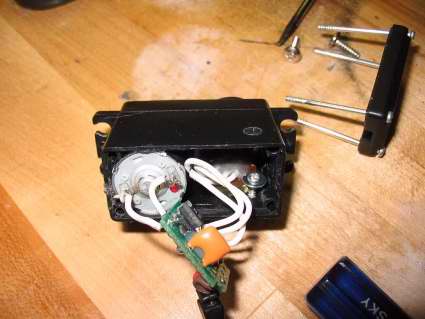
2. Unlike the other writeups, I decided to not worry about wallowing out the underside where the pot goes. I decided I wanted to have the pot stick out the top of the servo so that I can adjust it anytime I want. In order to do this you need to drill a few holes and remove some material from the servo case. This is where the lighter/torch comes in handy. It's really difficult to get the little risers out of the case to wedge the pot in there sideways, so I heated up a flat head screwdriver and melted away what I didn't want. After that I just drilled two holes and wedged it in. You can also see that I drilled a hole on the other side to allow me to put in a set screw.
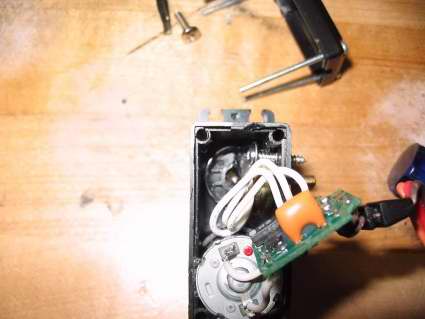
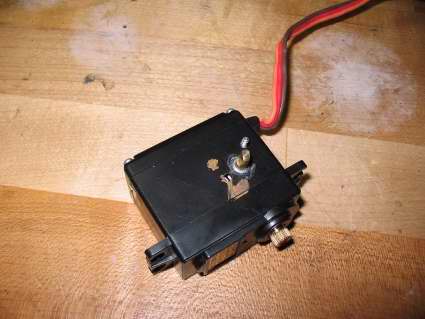
3. After I got the pot the way I wanted it, I put the case back together.
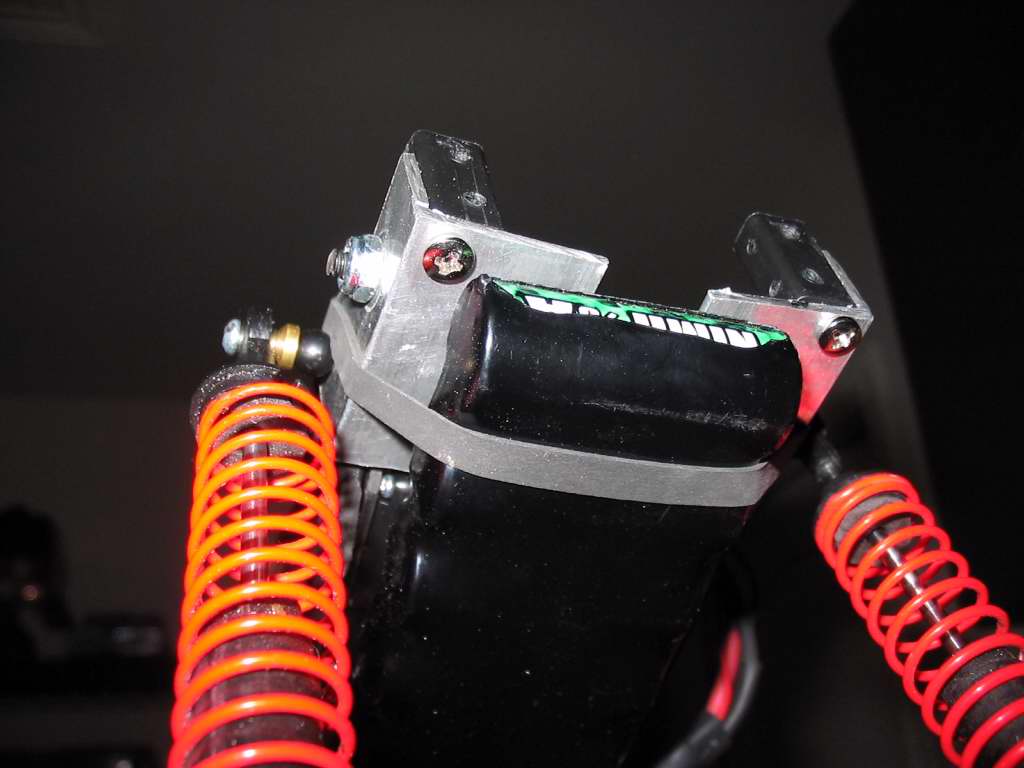
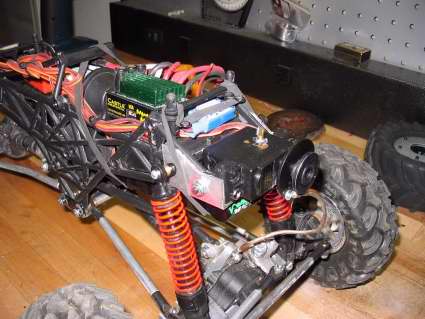
4. Next I made some alum brackets for the servo to go on the WK chassis. After much debate, I decided to go right up front with it. I cut two small pieces of angle and drilled some holes for the shock mounts (non stock location) and the Associated servo mounts. Once I was satisfied with the brackets I trimmed off excess material and screwed the mounts and servo on.

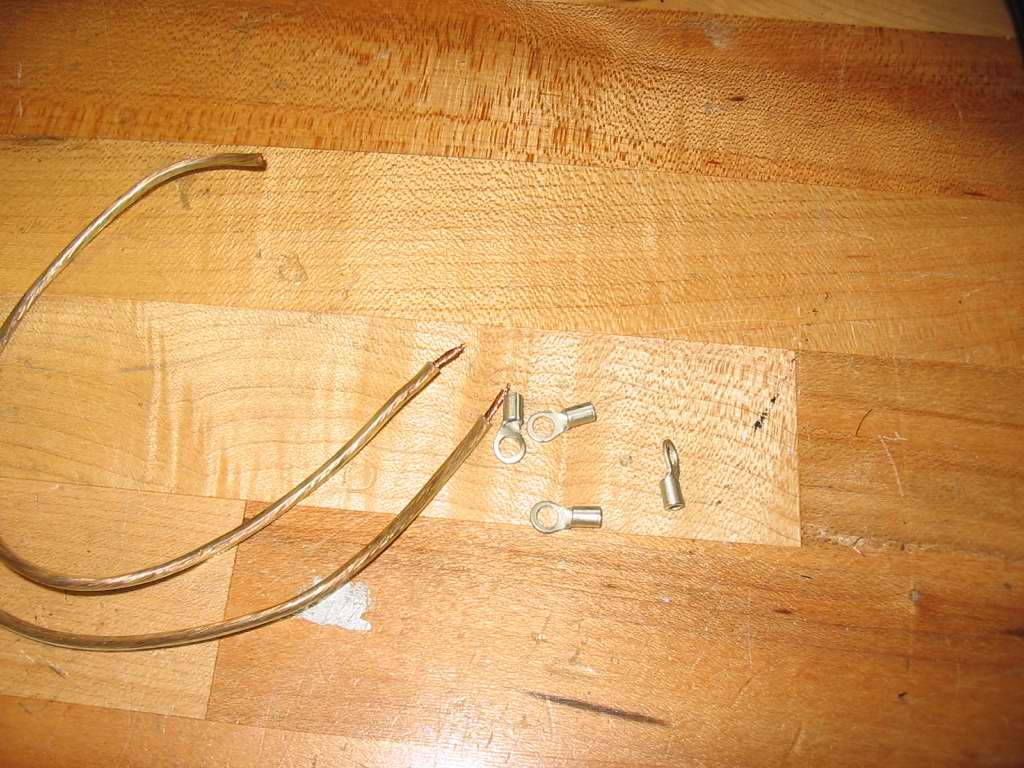
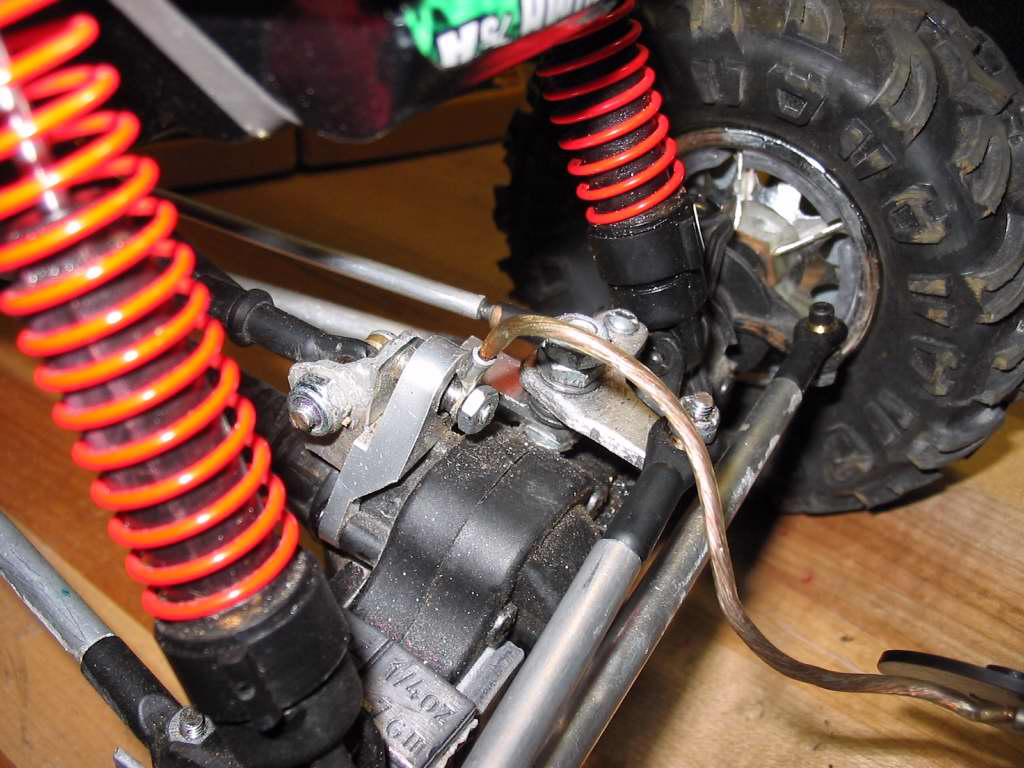
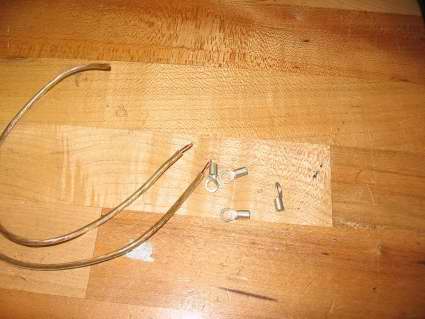
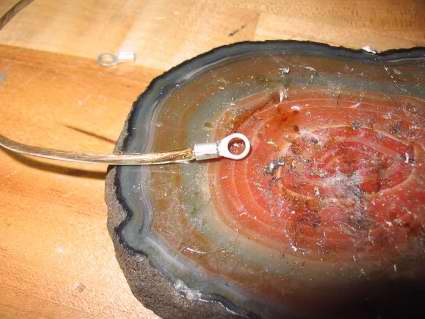
5. Next I made the winch cable and the drum. The cable is just some speaker with with some ends soldered on. I tried to keep it as short as possible while still allowing full droop. The inner part of the drum is a futaba servo piece. The outer piece is made up of a washer and a TP servo horn center.
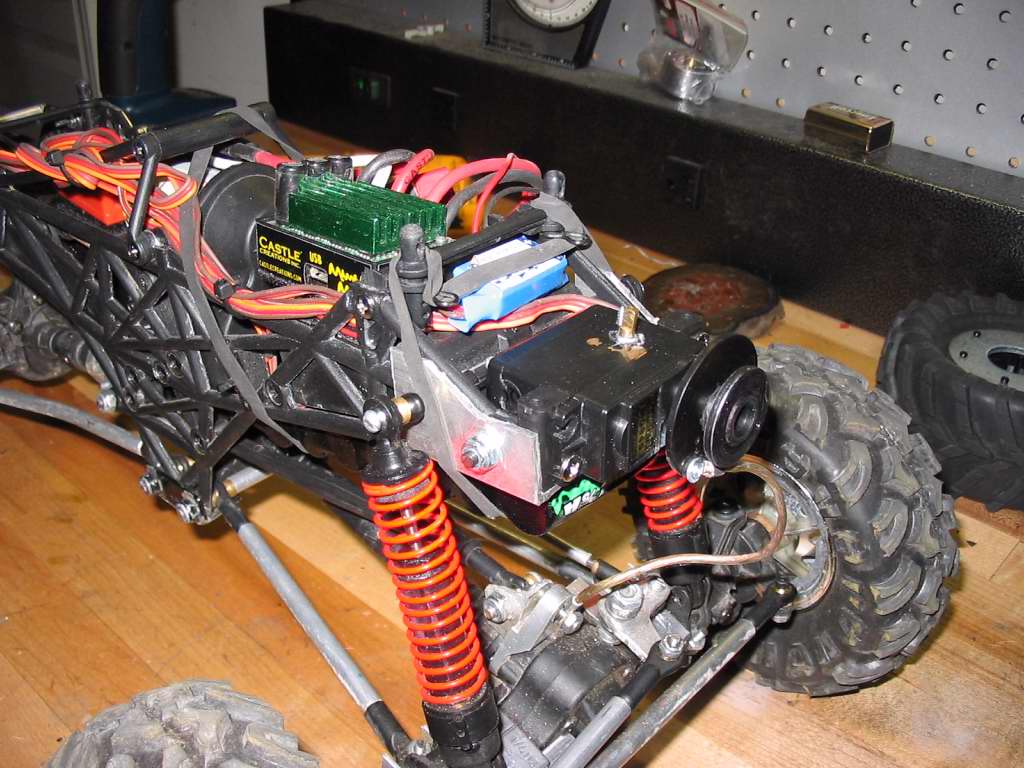
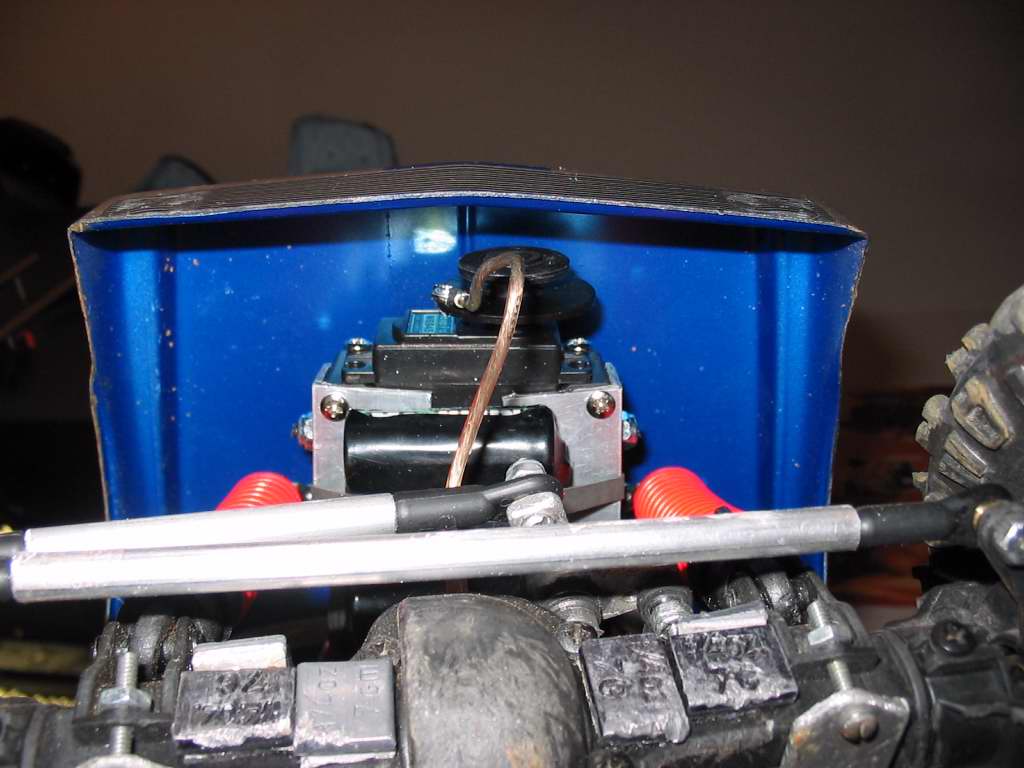
6. Here is a "naked" shot of it all put together and a close up of the axle end.

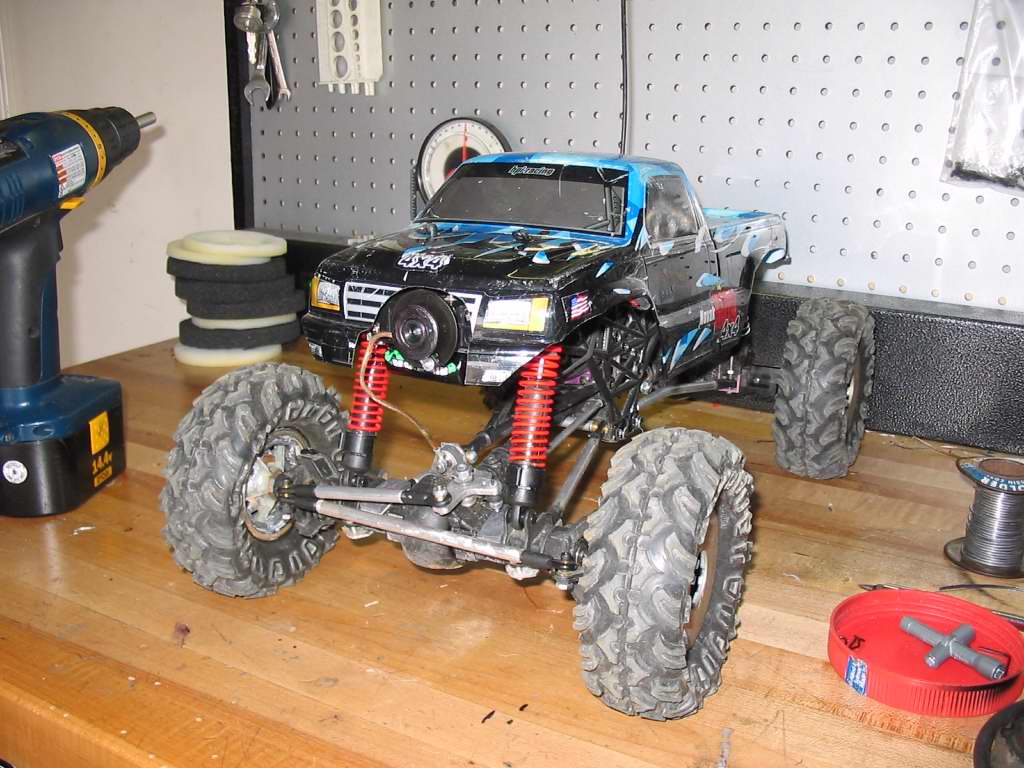
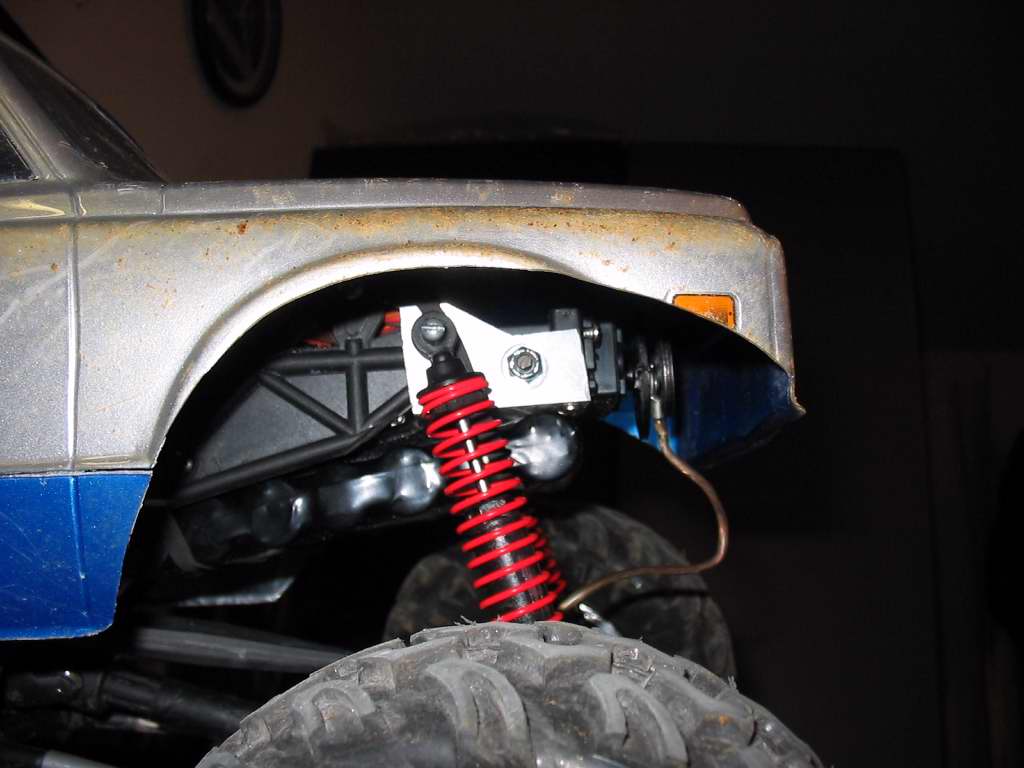
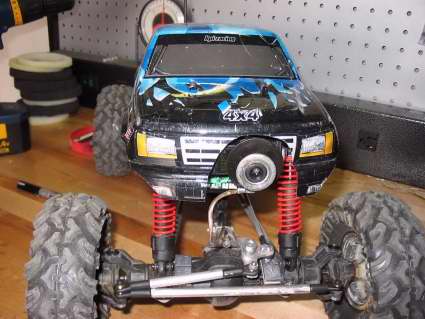
7. And finally some shots of the hacked up WK body.

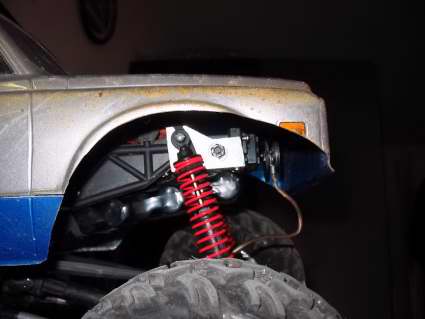
8. It also fits under my 1/10 body with any problems

And here is a little video of it in action:
You Tube Video