Steering Upgrades
The WK steering isn't anything to get excited about to begin with. After I did the HPI Stage I crawler mods it turned about as well as my fullsize pickup. Partly because of the wheelbase and partly because of the spools I dropped into the axles. Either way, something had to be done.
PARTS & SUPPLIES NEEDED
3/16 flat aluminum (Mine was 2"x24")
2x #6 Washers
2x 4-40 Bolts (1" long) with lock nuts
JB Weld
Masking tape
Regular pen & gold or silver paint pen
RC4wd Aluminum 3-link mount
Tower Pro mg945 servo
TOOLS
Dremel with cutoff disks & small grinding stones
Drill with assorted bits up to 5/32
Jigsaw with metal blades
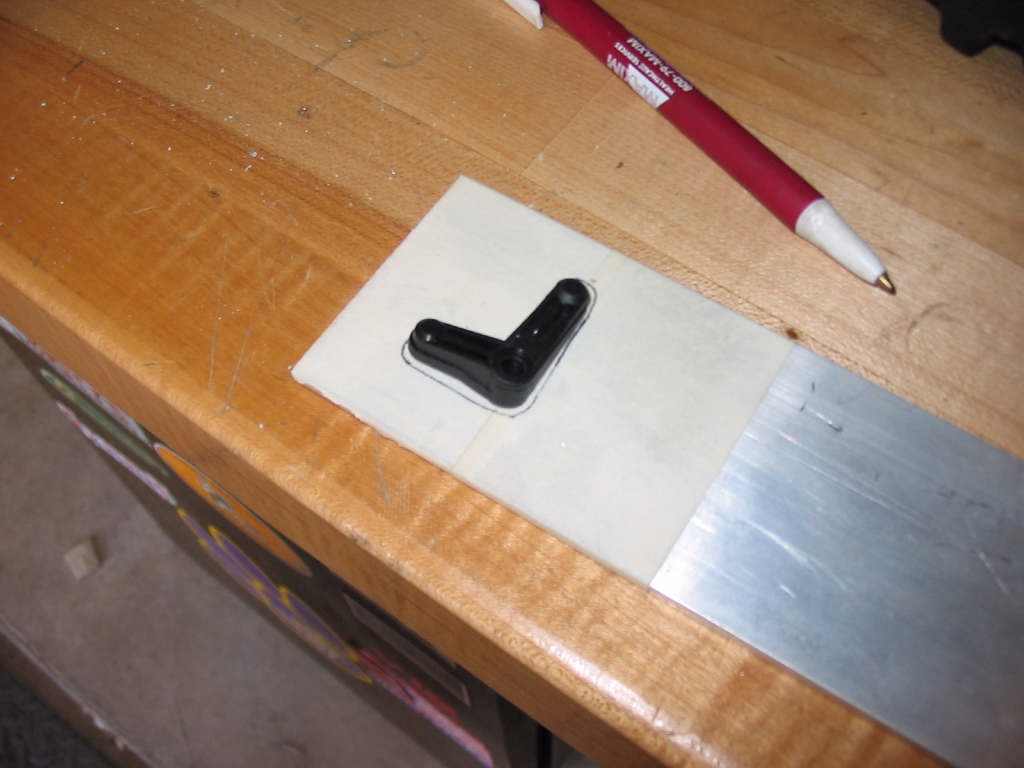
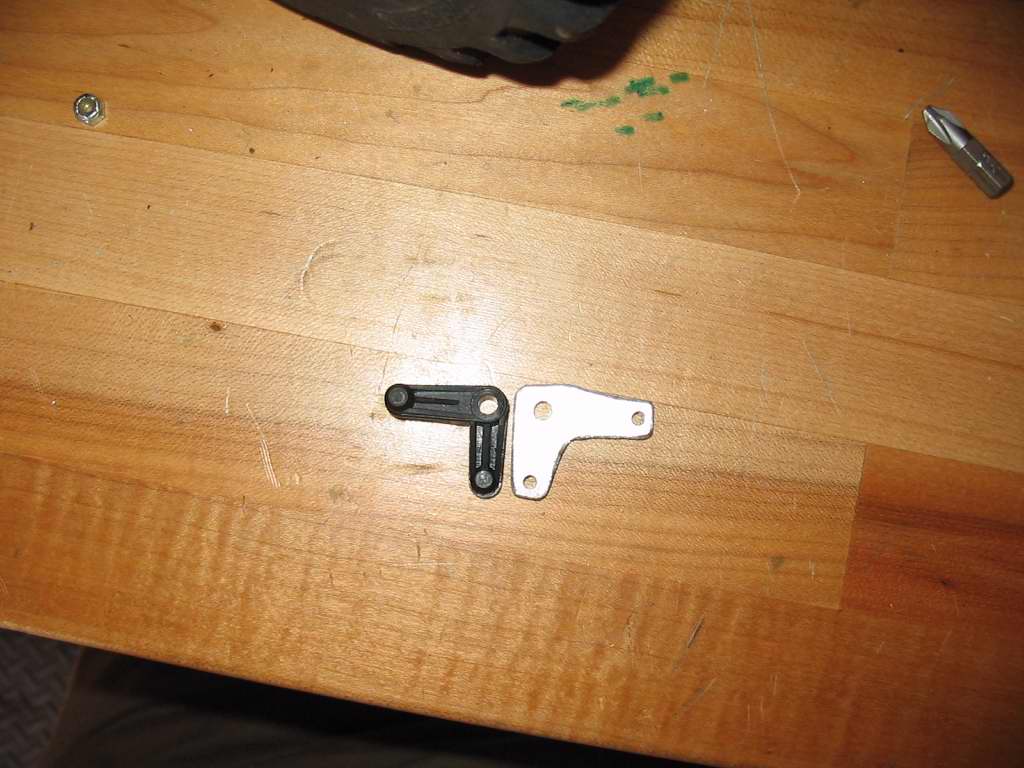
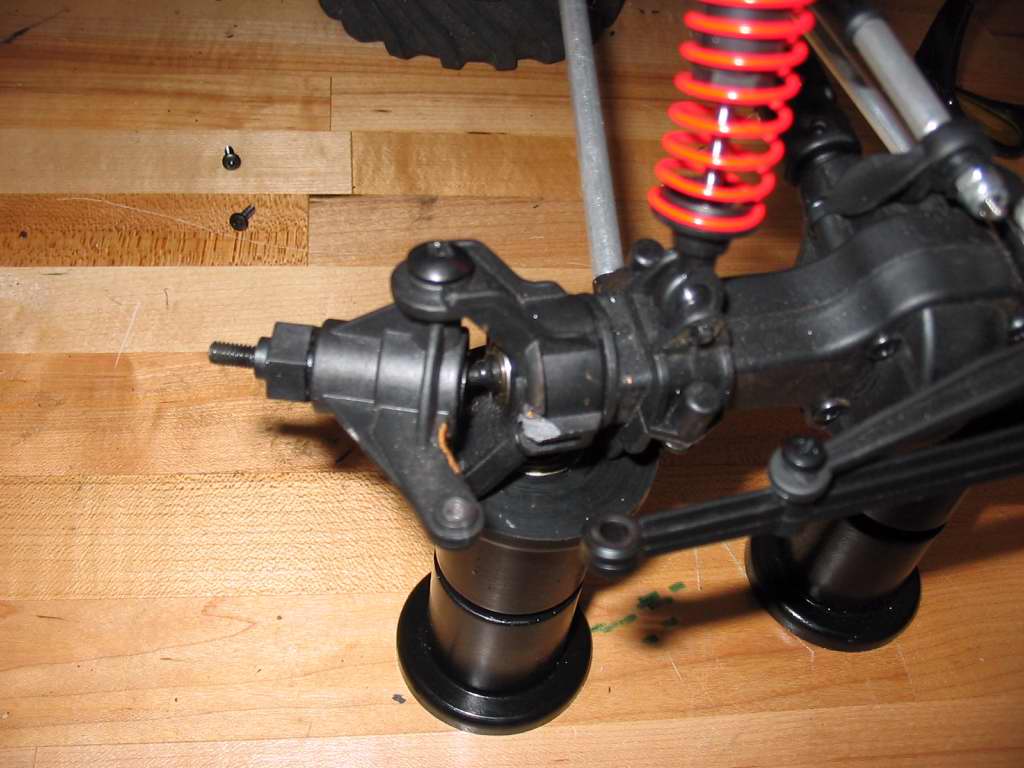
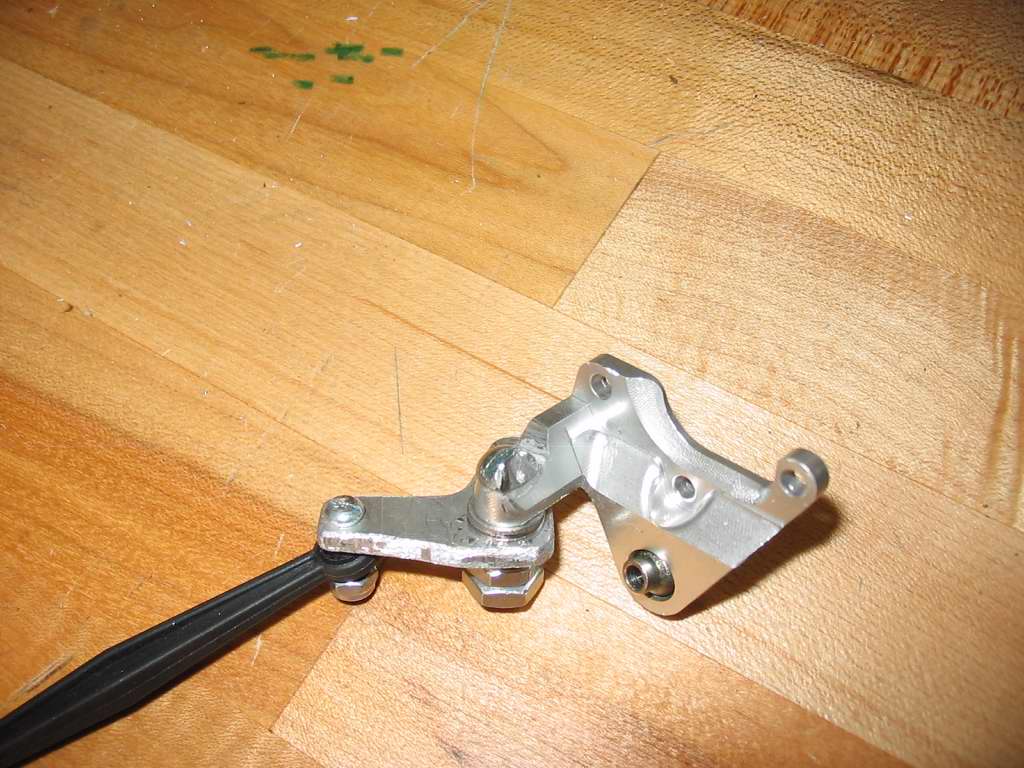
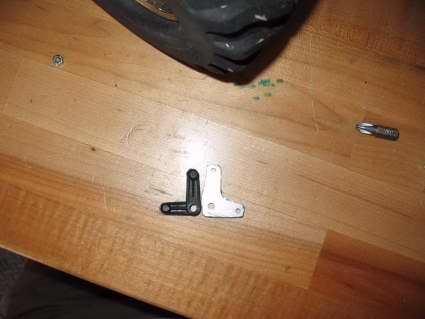
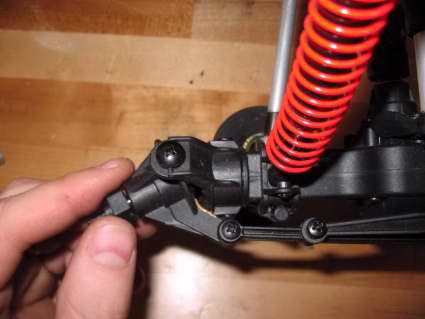
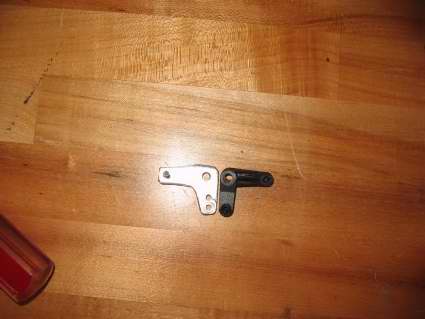
1. The first thing I decided to tackle was the bellcrank arm. This is the arm that sits on top of the 3-Link mount on your axle. My arm itself was fine but I decided to make the front portion of the arm longer because at full crank the arc of the arm was maxing out but the steering wasn't. Making the arm longer would mean that the servo would need to move less to move the steering more, etc. Not wanting to overpower the weak SF-1 servo (more on that later) I decided to extend the front of the arm about 1/5 of an inch.
2. I started by removing the arm and tracing out part of it onto my alum flat bar via masking tape. As noted earlier I wanted to make the portion that would normally stick out over the drag link a hair longer.

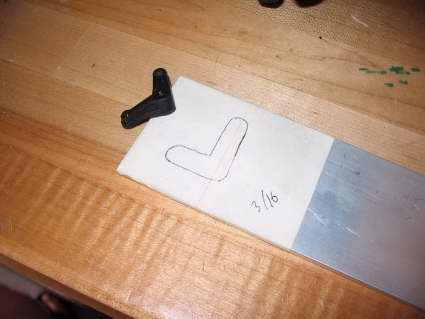
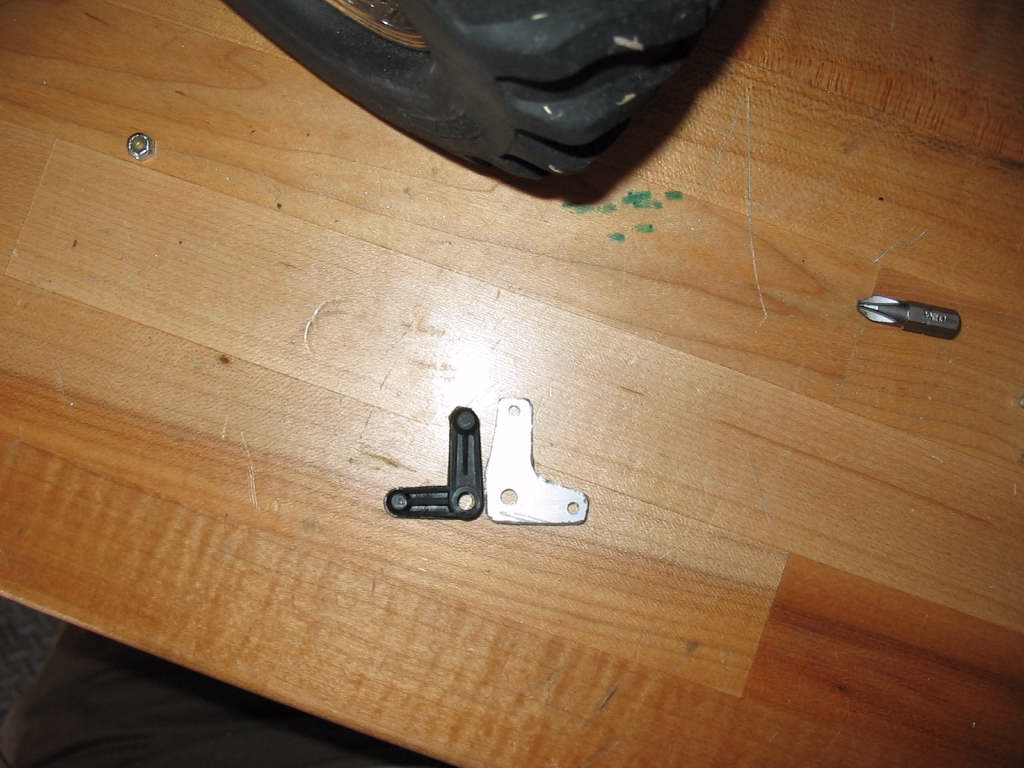
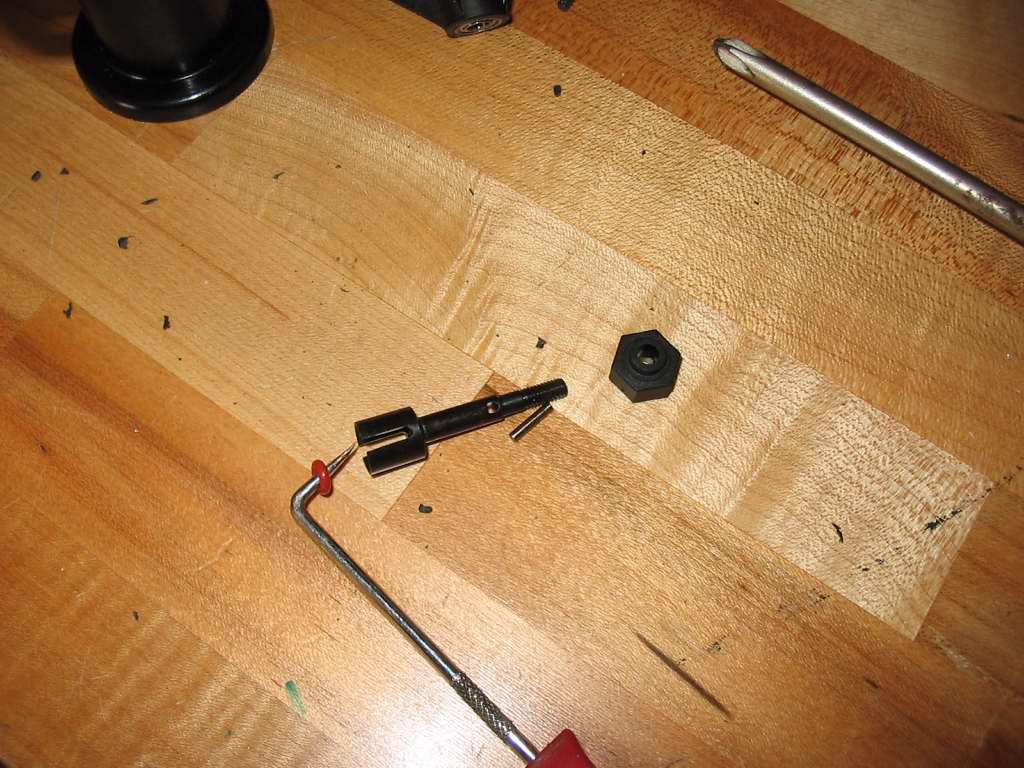
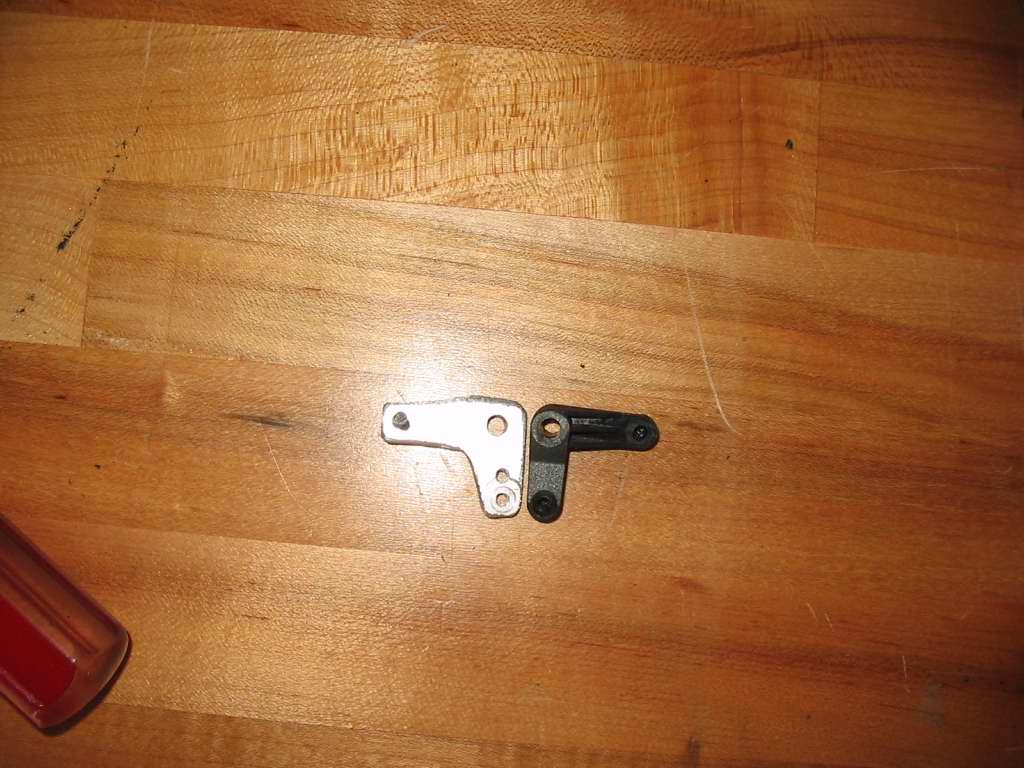
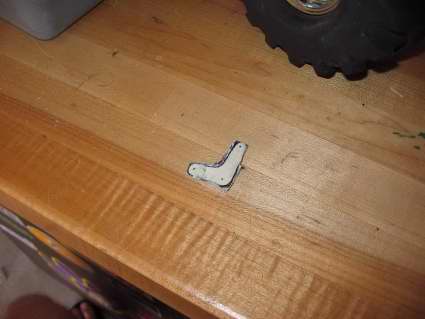
3. There are plenty of ways to cut the aluminum out, I used a jigsaw for the rough cut and cleaned it up with a dremel as needed. I found that a 5/32 drill bit was a great fit for the bellcrank pivot screw and the 4-40 bolts threaded into their respective holes fairly easily after using a 3/32 bit. it feels like they won't fit but they will if you work the hole a little with the bit. Mine actually ended up threading themselves well enough that the nuts shown are overkill. You'll want to use the washers under the new arm to make up for the fact that it is flat. I put two washers between the arm and the 3-link mount ... they just fit around the screw with the built in shaft part. You'll also want to trim the 4-40 bolts once you get everything situated.

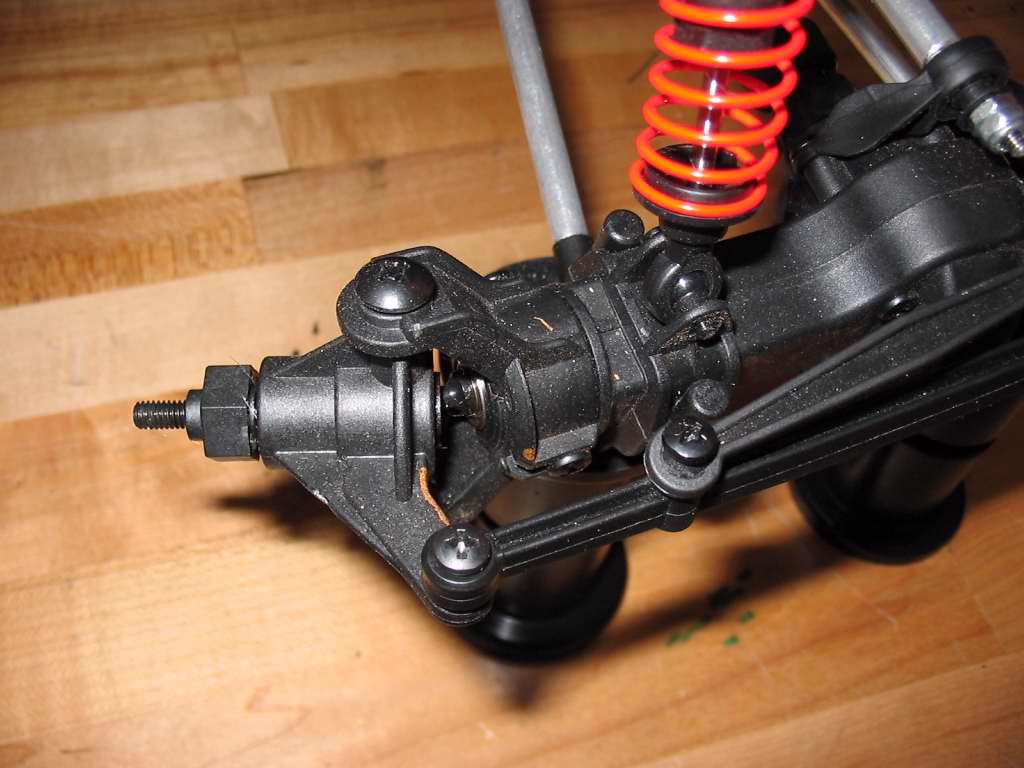
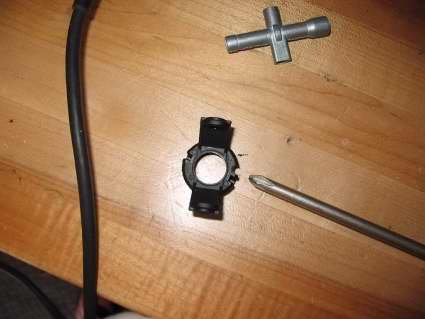
4. After playing around with the links I decided to take a stab at trimming the inner knuckles. There are a few aftermarket aluminum knuckles that boast a better turning radius, so I figured I take a shot at making my own. To do this I eyeballed where I thought the outer knuckle was stopping and then slapped on some paint pen just inside of it. With the paint still wet I worked the links back anf forth so that I had a nice mark on my inner knuckles.
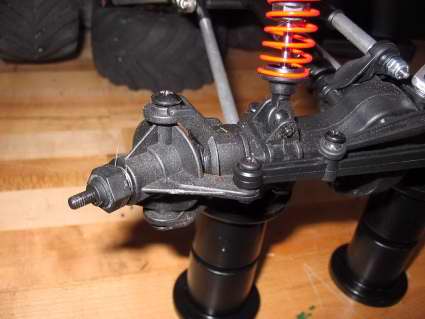
5. With my marks made I removed the inner knuckles from the axles and hit them with the dremel and an exacto knife. After a few trial runs I had the knuckles maxing out against the axle tube like I wanted.

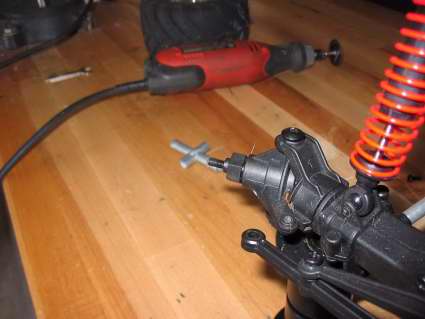
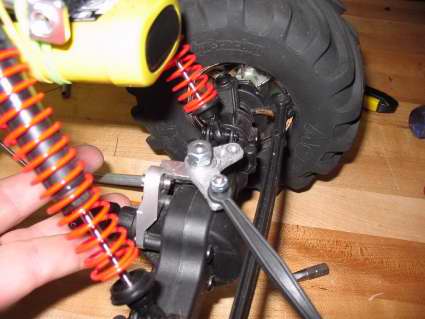
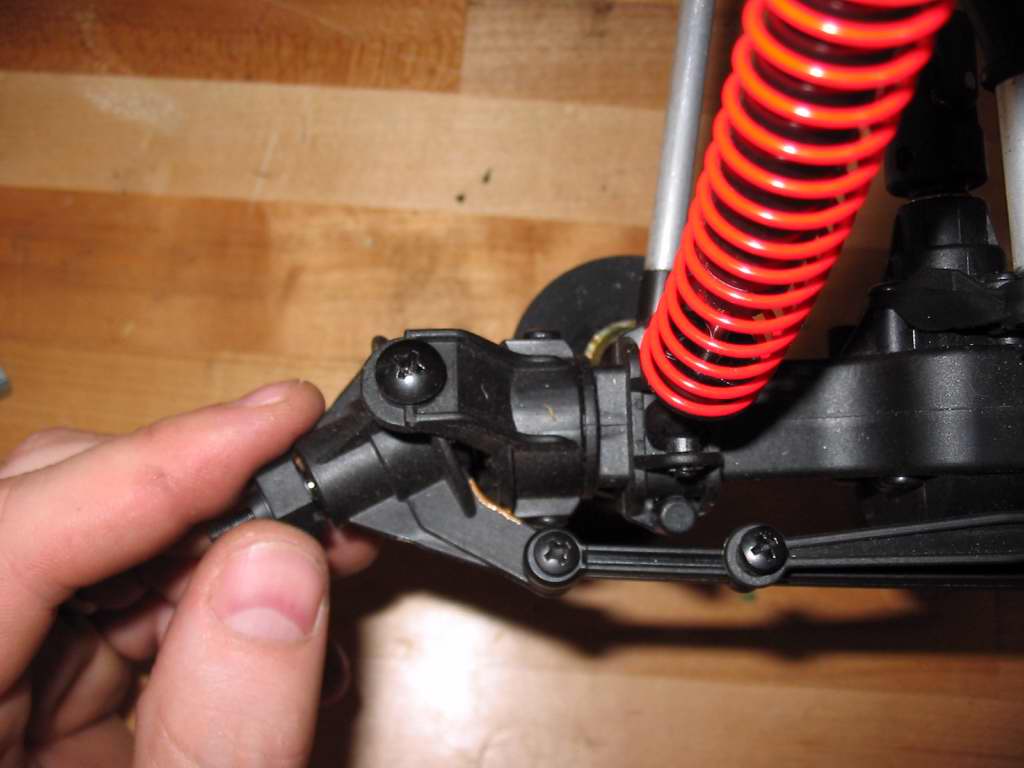
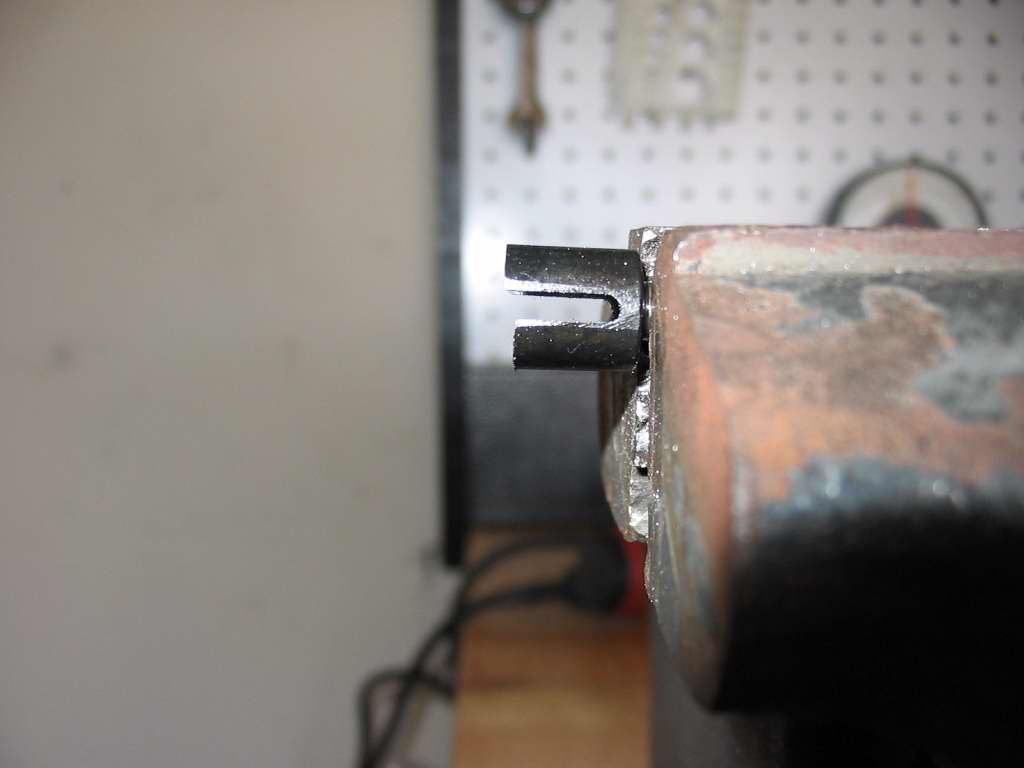
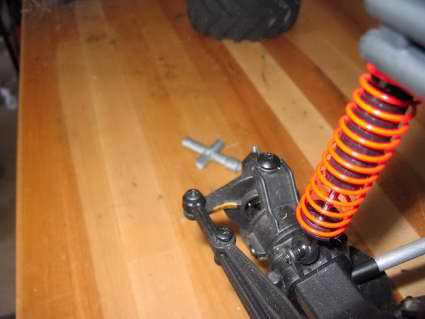
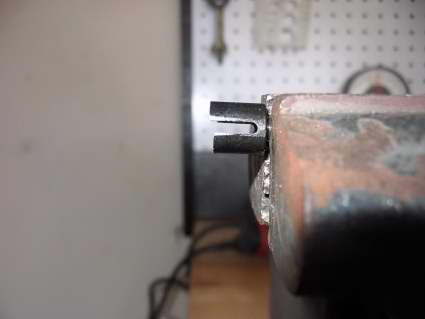
6. On the passerger side I was able to crank the steering and not have any issues .... but on the driverside there was a little bit of potential for binding. The inner axleshaft was catching on the outer shaft and limiting the steering. I guess this is why the aftermarket also sells shafts made for trimmed knuckles. Anyway, I figured I may as well give it a shot myself so I removed the outer shafts and started grinding the inner "cup" area of the outer shaft. The key is to remember that you don't want to just remove material, you need to make the inner bevel wider without taking away so much that the shafts can come out. It's a simple trial and error process and mine came out just fine. Note that in the second picture I did one side of the shaft first, just to illustrate how much I removed.

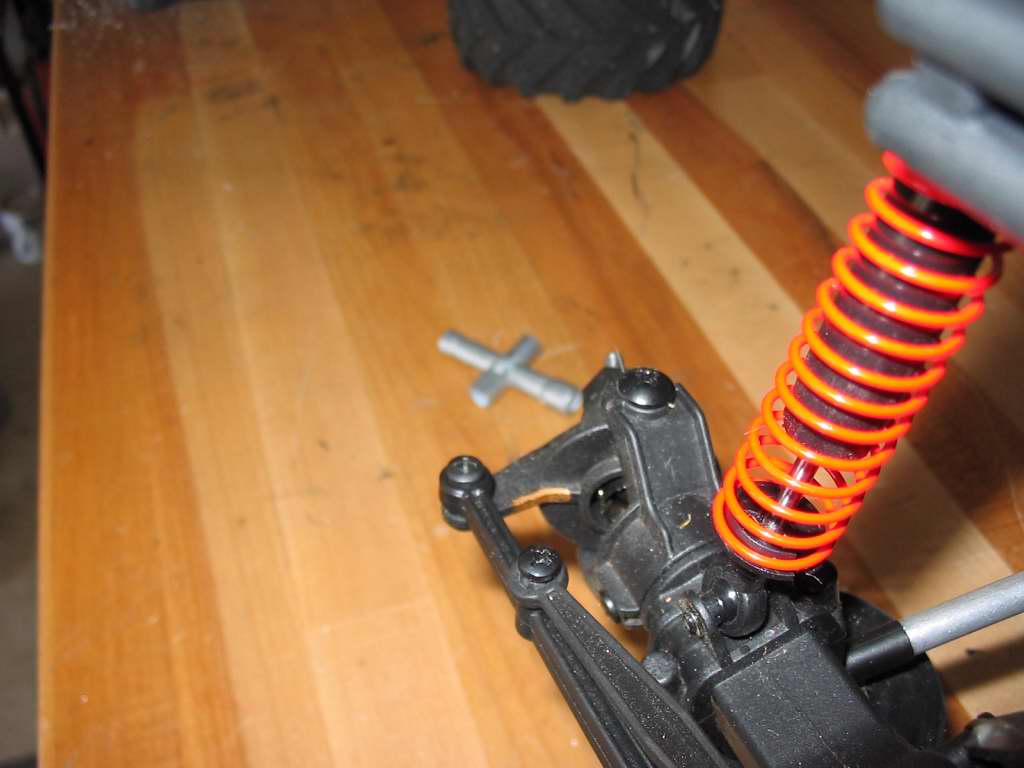
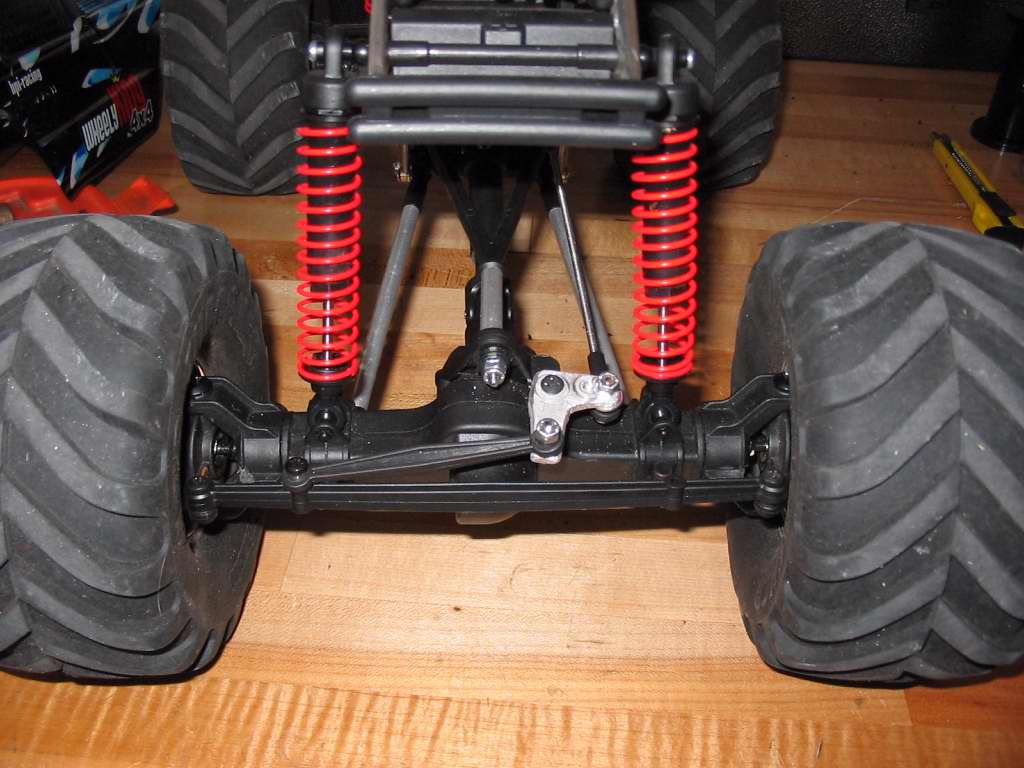
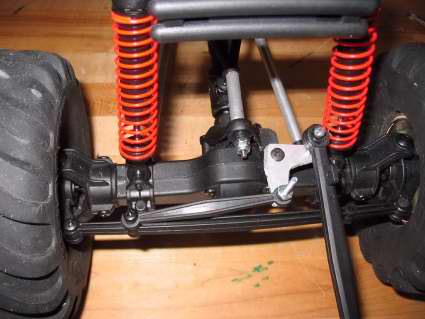
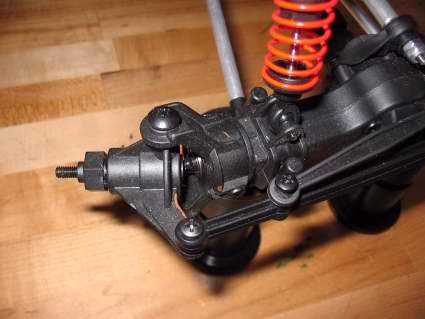
7. After getting everything back together, I decided to try a real world test on the ground. The first thing I noticed was that my steering wasn't maxing out with the weight of the vehicle on the ground. Instead the plastic "3-link mount" was flexing a little.

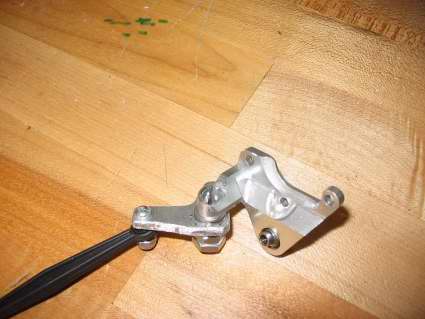
8. To counter act the flexing plastic I CA glued some wire into the slit that runs along the tie rod. Problem solved. I also installed a higher torque servo and an aluminum 3-link mount and it seems to be working just fine now.