Axle mounted servo
I think it looks a little more realistic to not have a big honking servo on top of the axle so I kept the chassis mounted servo for as long as I could. "As long as I could" turned out to be last weekend when I fried yet another servo because I had the end points set farther than the steering lever on the chassis could turn. Frustrated, I started thinking of several ways to improve the chassis mounted idea when I realized I was polishing a "turd". So, I decided to take a stab at putting the servo on top the axle. From looking at other setups on RCC, I know that if I went down the usual road, I'd have issues with my shocks still located on top the axle. I also wanted to be able to retain the suspension winch I just installed. While I was thinking about things I wandered into the AX10 section of RCC and I started wishing the WK came with a center mounted servo plate ... then I decided to make one.
PARTS & SUPPLIES NEEDED
Plastic Servo mount blocks
Misc Screws
1" Aluminum angle
1/2"x3/4" Aluminum angle
1x 4-40 ~8mm flat head hex socket screw
1x 4-40 lock nut
CA glue
2x 10mm 6-32 Socket head screw
2x 6-32 lock nut
4x TP binder head m3x10mm screws
5x Dubro 6-32 rod ends
2x Dubro 6-32 misalignment spacers
2x 6-32 flat washers
6-32 all-thread
1/4" x .049 wall alum tube
2x 4-40 3/4" machine screws & nuts
TOOLS
Dremel with cutting discs
Drill with misc bits
Screw drivers
Assorted hex drivers
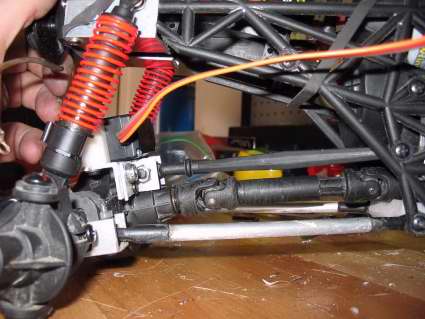
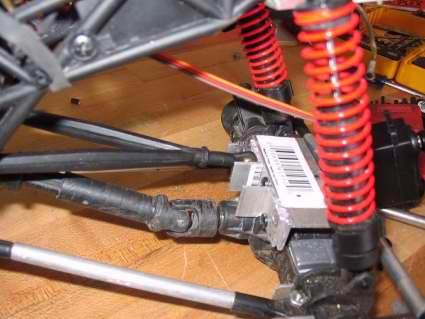
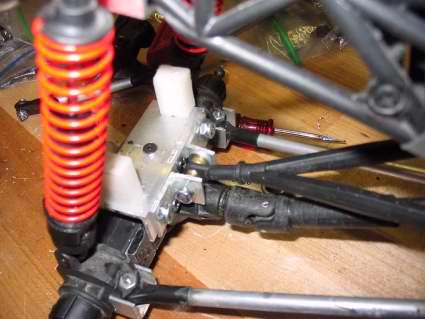
1. I started by removing the stock upper arm & mount, wheels, tires, factory servo linkage, etc. Next I took the upper arm mount, transfered some dimensions to a piece of 1" angle and cut it out. The piece sits just on top of the axle with a little rubbing and is just wide enough to fit a servo.
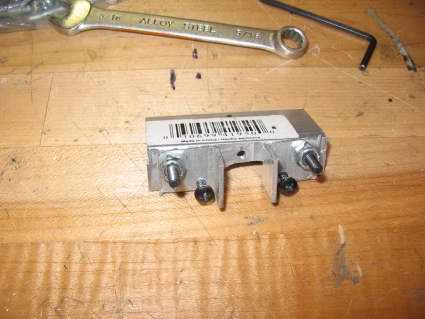
2. On the back side, I cut out 2 small pieces of the 1/2"x3/4" angle to make a link mount setup. They are just flush with the top of the servo mount but in order to get them mounted I had to do a bit of grinding on the corner of the passenger side piece and a tad on the axle. I used the stock link mount screws and some 6-32 hardware to attach them I also drilled a hole for the dubro rod end & a 6-32 screw & spacers. To attach it to the factory Y arm I used 6-32 all-thread.

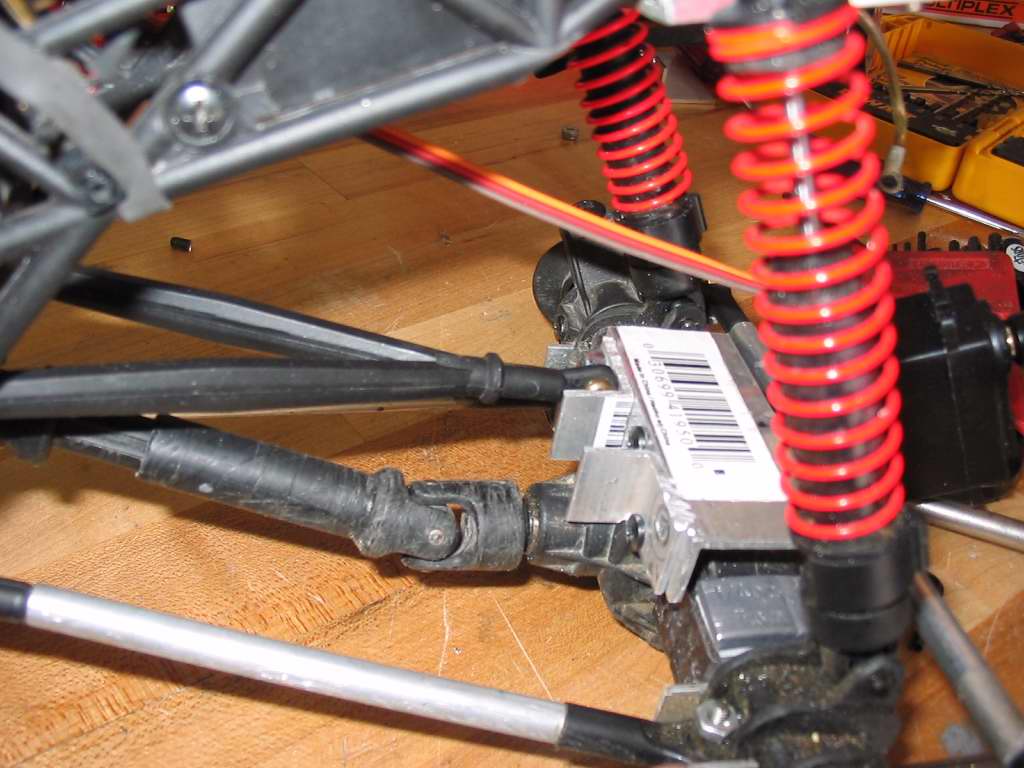
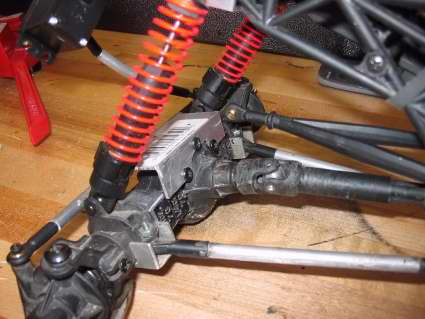
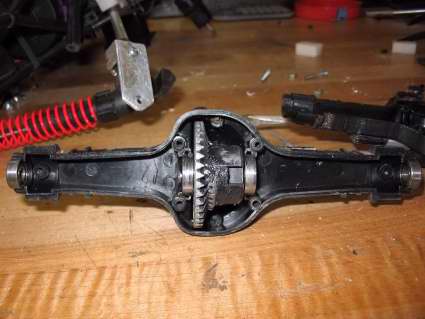
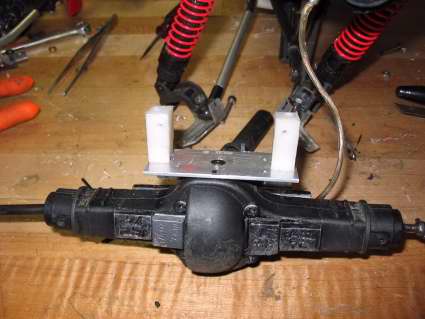
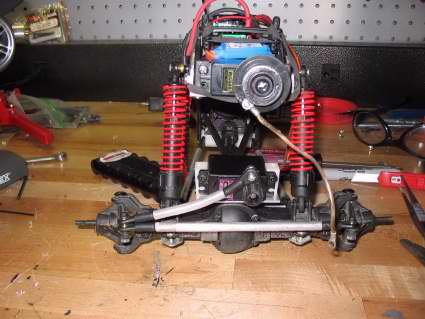
3. Once the mount fit with the suspension, I took everything off the axle until I had just the back half. Here is what it'll look like.
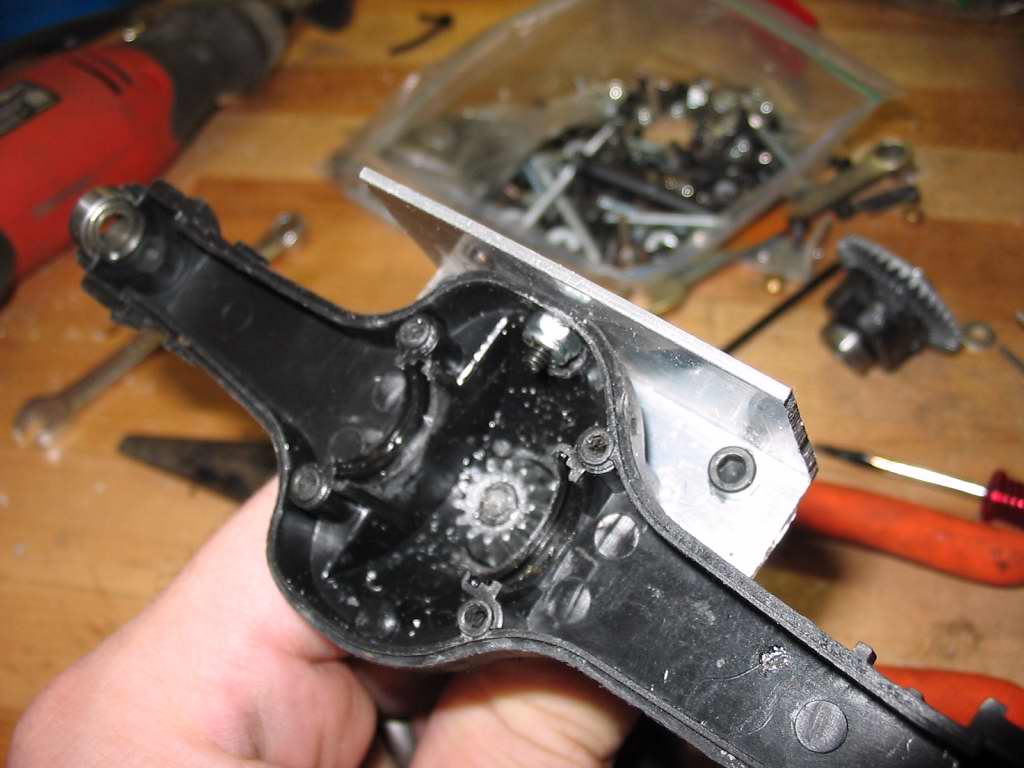
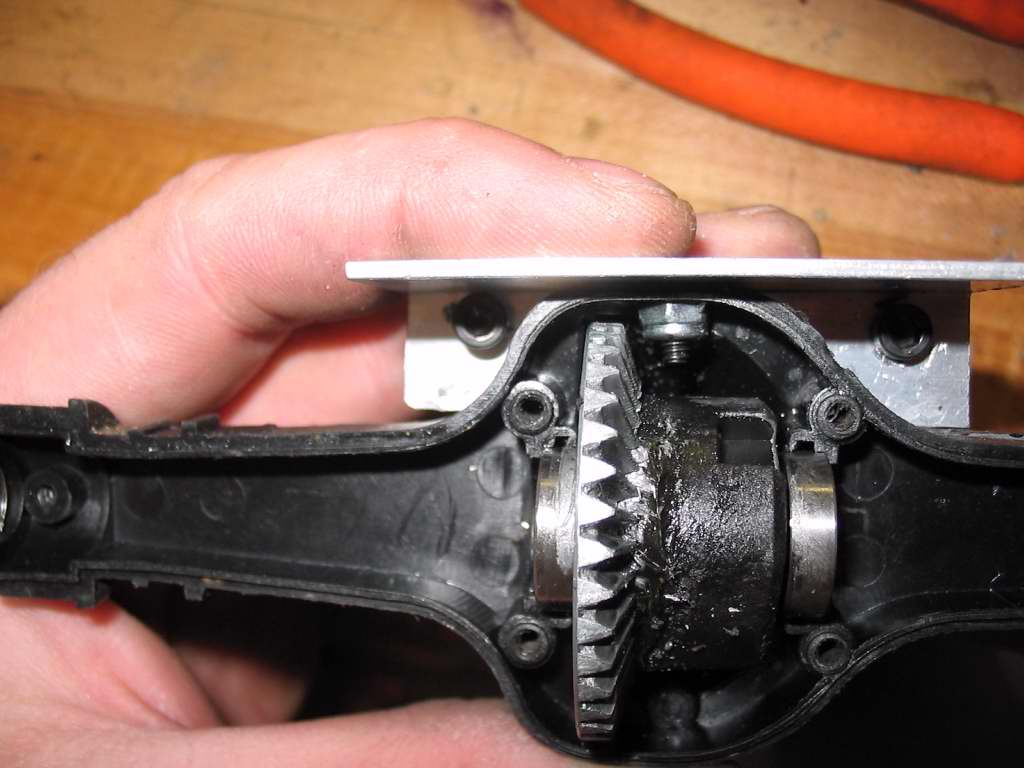
4. I reinstalled the servo mount, picked a spot on the mount, removed the diff and drilled through it into the axle housing. That allowed me to slide the flat head 4-40 hex socket screw through the bracket and into the axle. I countersunk the screw into the bracket and used a drop of CA on the screw. Last thing you want is for that nut to come between your ring & pinion.


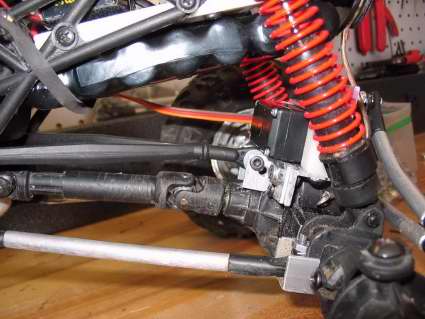
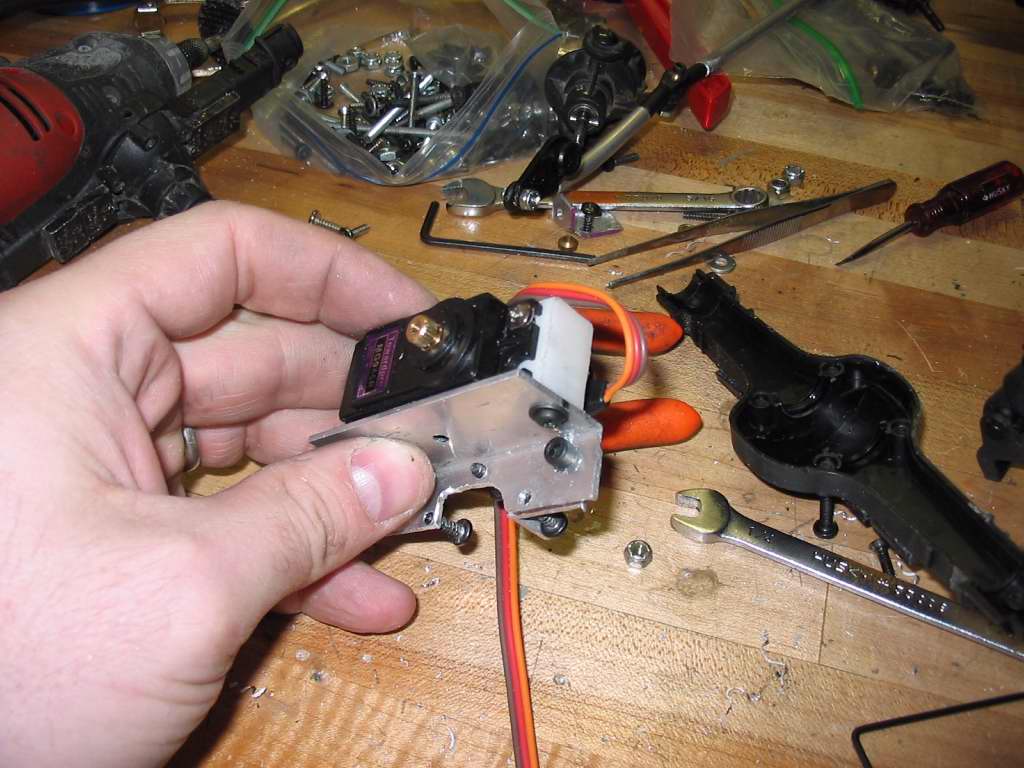
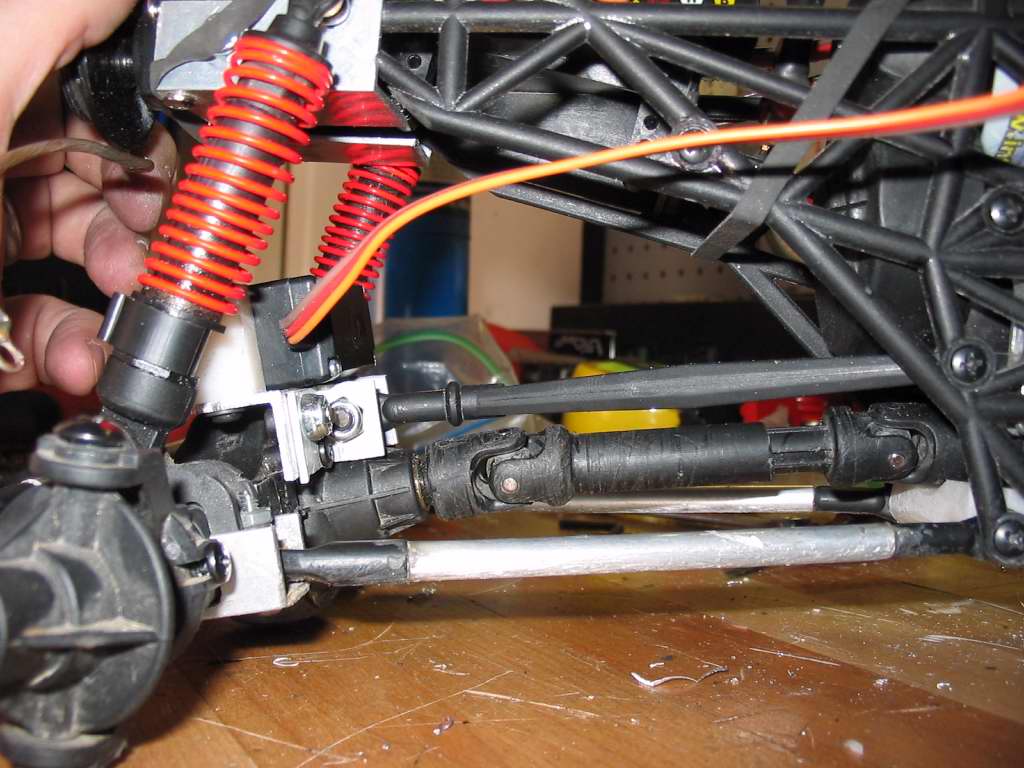
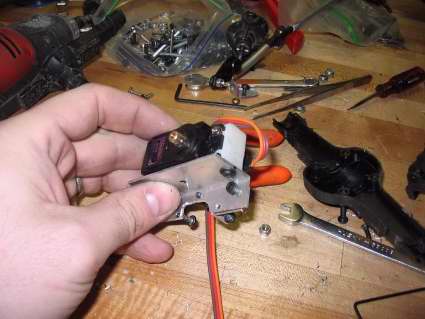
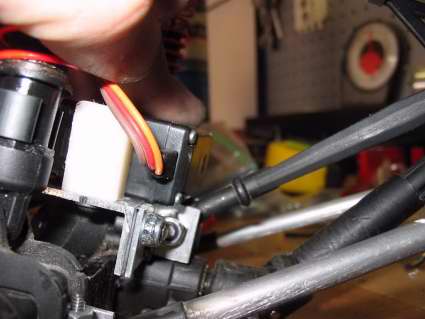
5. I removed the bracket and mounted the servo to it using 4 screws. I plan on replacing the screws with nuts & long machine screws so I don't have to take it apart to tighten the screws. Unfortunatly, I was out of them so this will haveto do for now. As you can see, it fits like a glove.
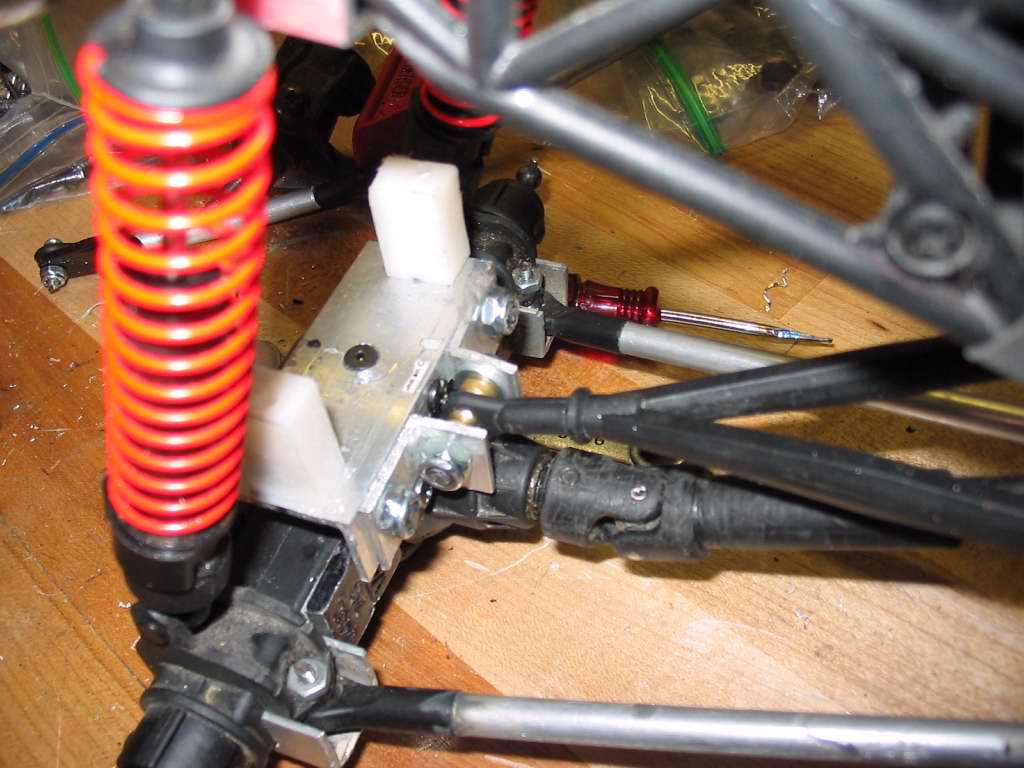
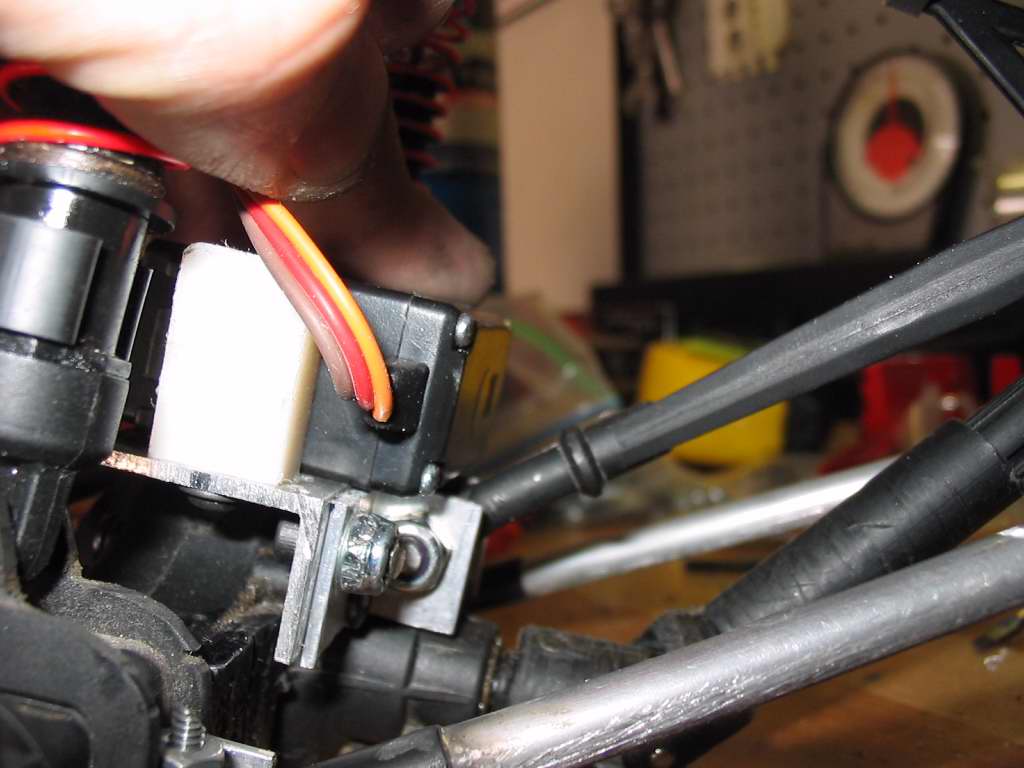
6. With the servo mounted I made new steering linkage. 4-40 screws through the knuckle with 6-32 allthread links covered with tube. The bend in the drag link was because I was being lazy and reusing the linkage I had with my previous steering setup.
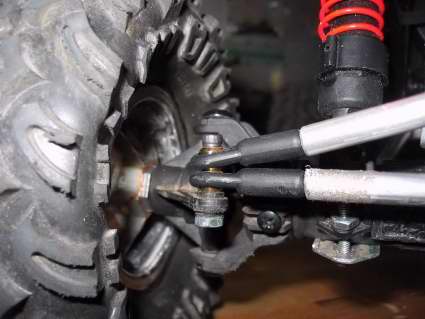
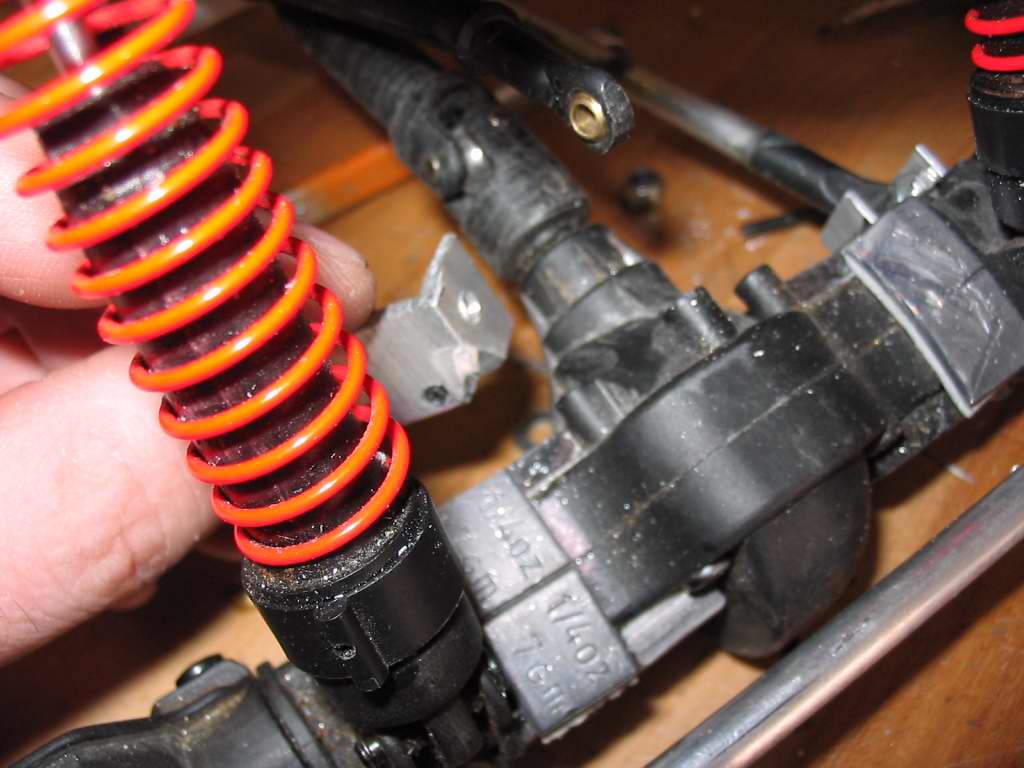
7. As with all things I made a small change to the setup after some testing. The geometry wasn't perfect and as the suspension drooped the yoke became to exposed. I fixed it by driling new holes and trimming the rod end a hair. Here is a before & after.