Axle Link Mounts
With my sliders in place I felt a little better about scraping over things, so I decided to add the final 1/2 inch to the wheelbase and to make some axle end link mounts. The stock WK mounts were getting a little scraped up so I wanted to make something that has a little more clearance. I also didn't like the way the factory shock mounts worked, so I decided to flip the bottom of the mount to the top of the axle.
If you haven't done the HPI Stage I crawler conversion you'll need a few additional parts to make the links, extend the driveshafts and correct the steering.
PARTS & SUPPLIES NEEDED
1/16 C channel aluminum 1/2" tall x 1/2"ID wide (get at least 1ft)
8x 4-40 lock washers
8x 4-40 Bolts (1" long) with nuts
Masking tape
Regular pen & gold or silver paint pen
TOOLS
Dremel with cutoff disks & small grinding stones
Drill with assorted bits up to 5/32
Jigsaw with metal blades
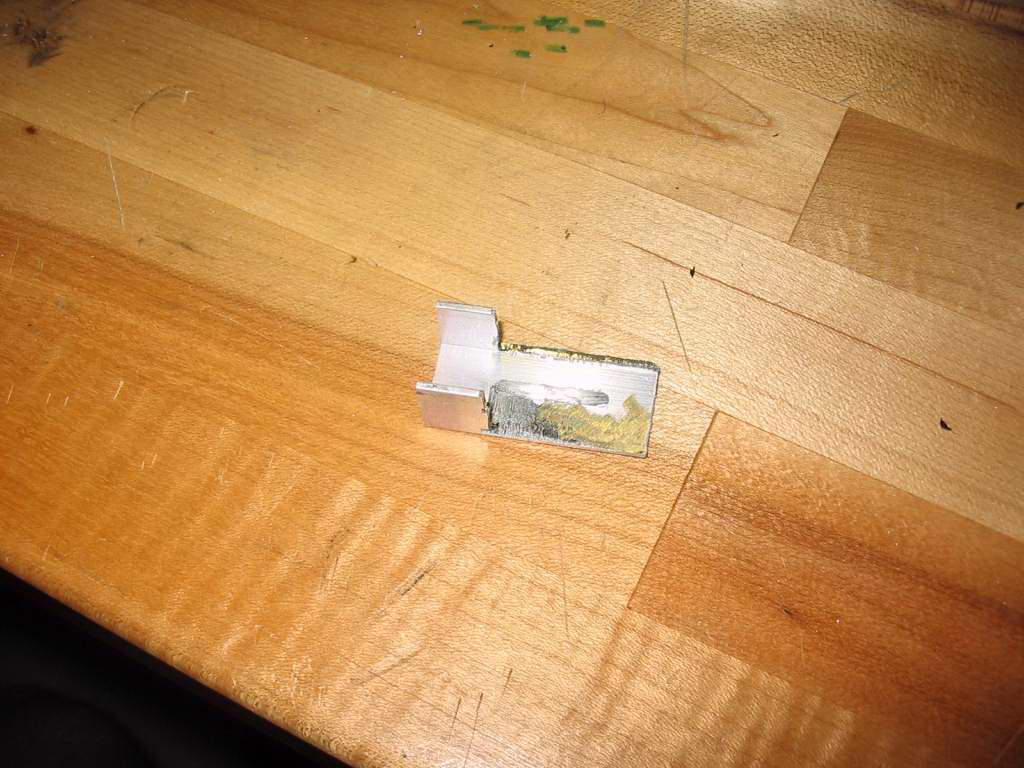
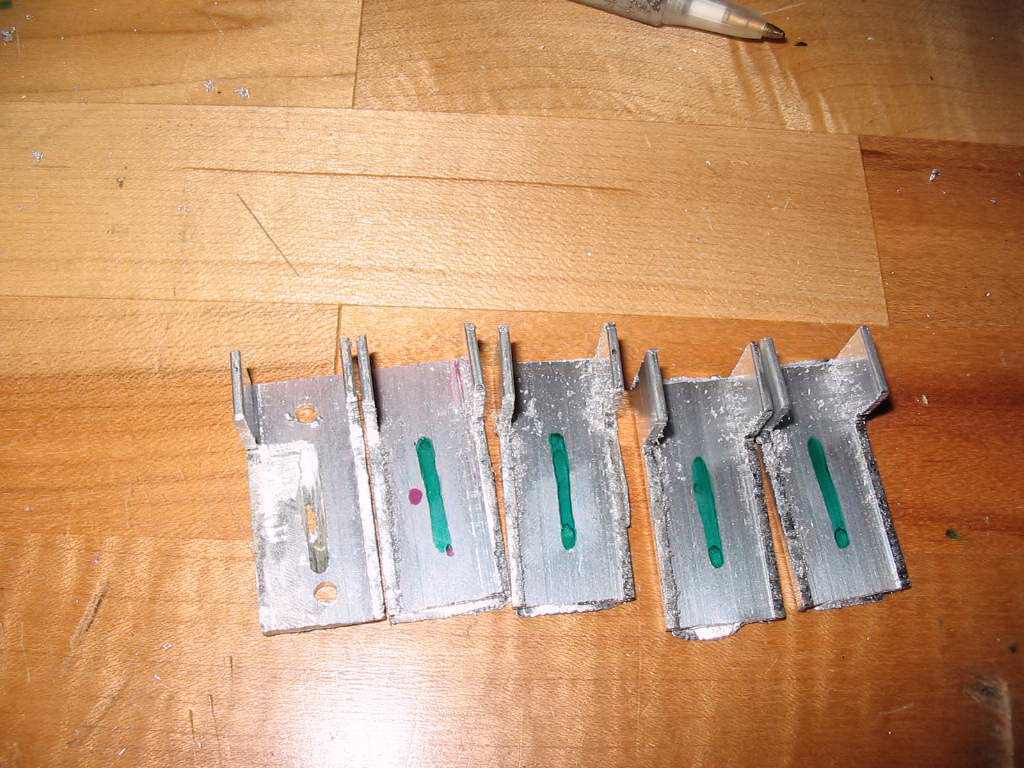
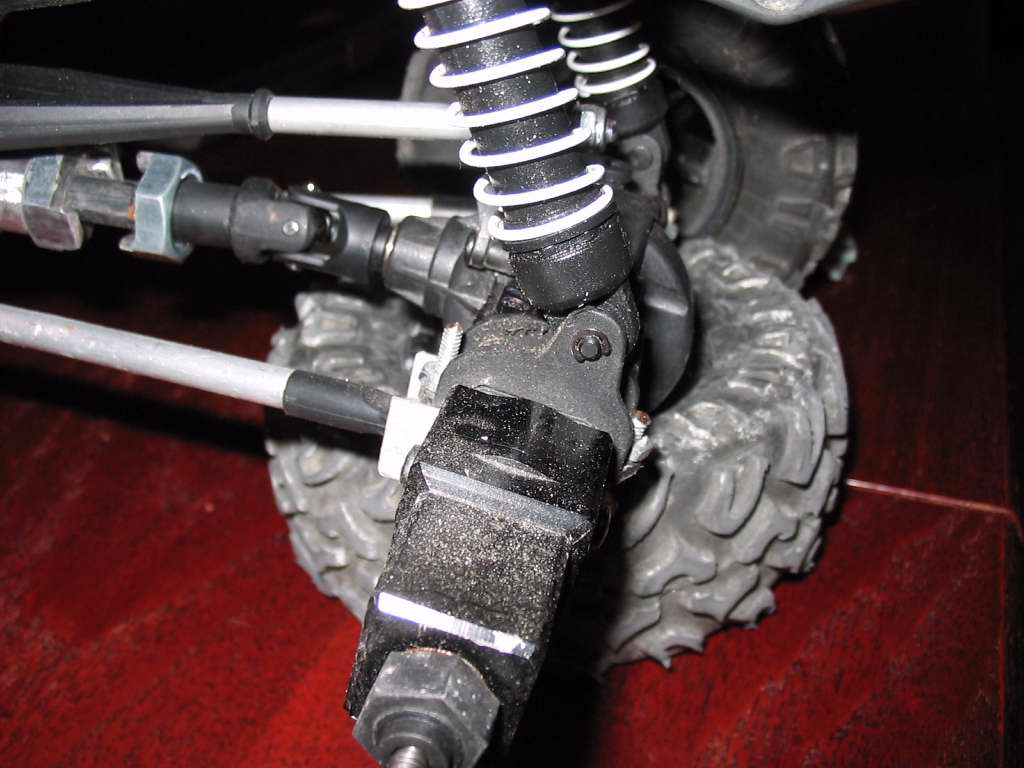
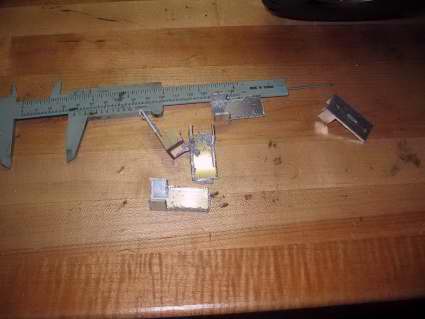
1. The channel should fit perfectly around the stock WK mounts as far as the inner diameter if it doesn't you don't have the right size. I was throwing around a few different ideas and this was the basic idea of what I decided on. I could have left the sides on the C channel on both sides, but it would have made it a harder cut, and I don't think it's necessary.

2. I decided to use a piece just to test and see how it would work. I cut the piece out by wrapping some masking tape around the channel, marking it with a pen then cutting it out with the jigsaw. They are all about 35mm long. I went ahead and drilled some holes (about 25mm eye to eye) and ground out the middle of it with the dremel (using cutting disks) to fit around the axle like the stock piece. You can use the paint pen to see where it nub runs on your link mount.

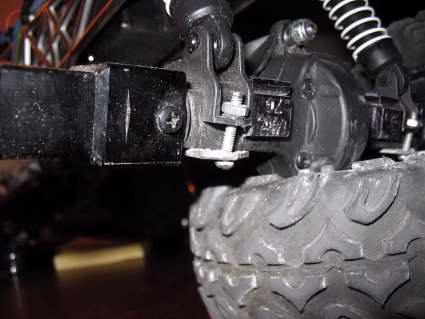
3. To use the mounts, you drill two holes in the bottom and thread the 4-40 screws up through the mount. The ball end of the link goes on top of that, then you will want to use the two lock washers as spacers. Depending on the ends you use you may get a different setup. Here is my initial test shot with the first prototype. As you can see it lifts the link up nicely compared to the stock location seen on the link in the background.
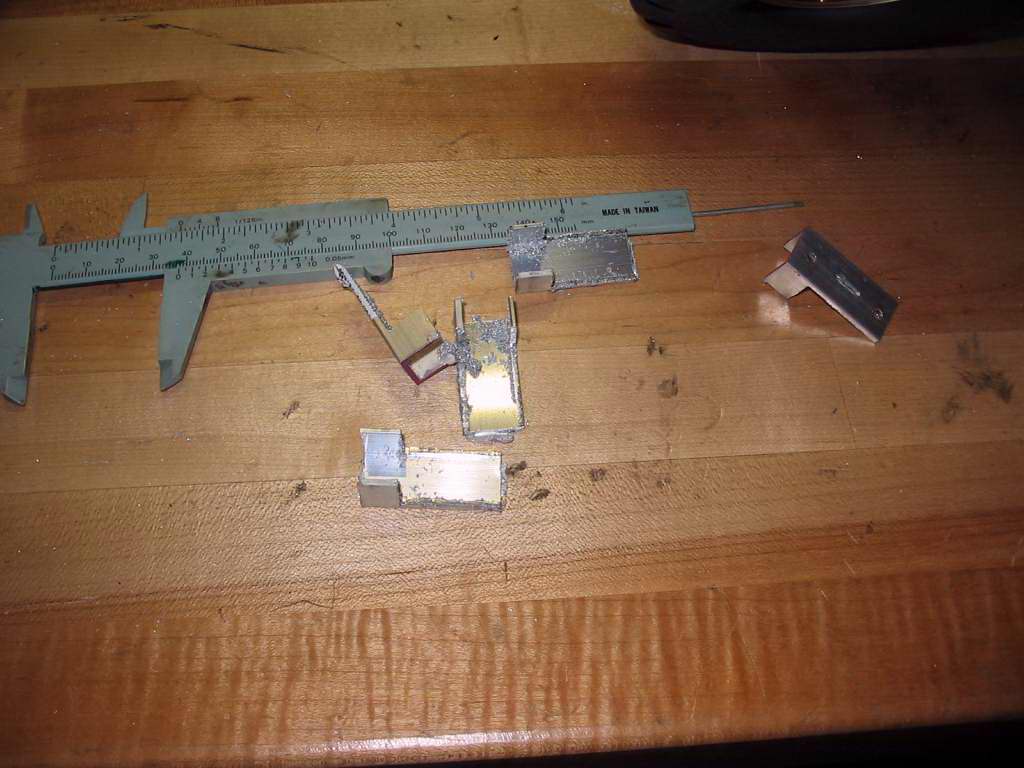
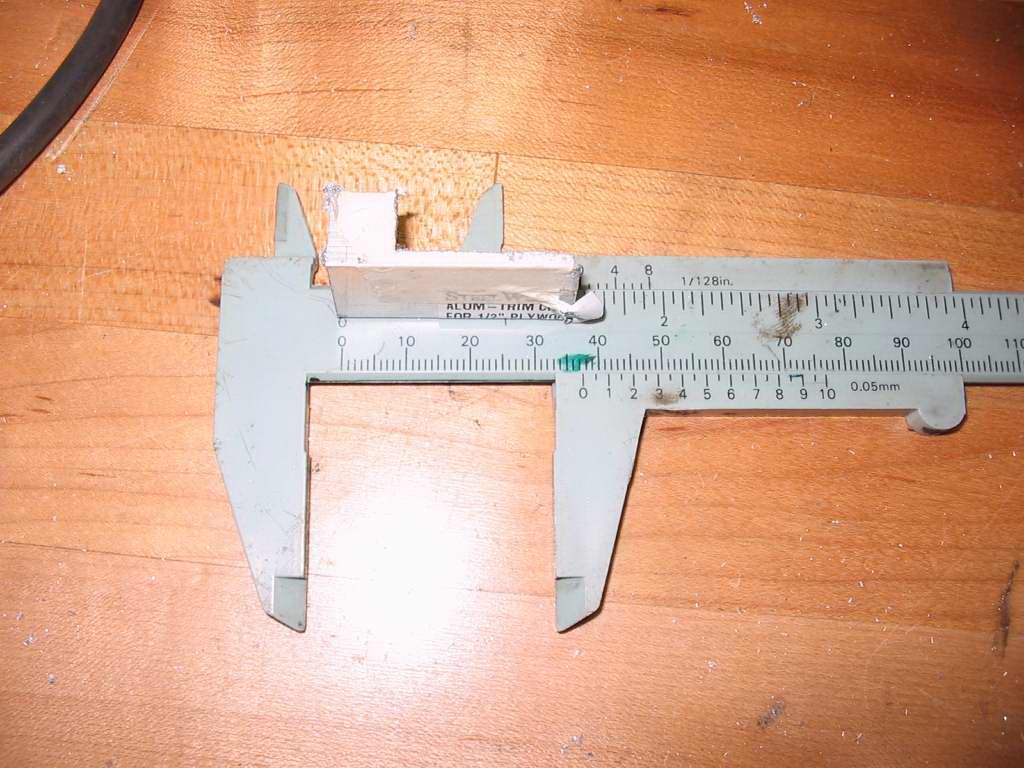
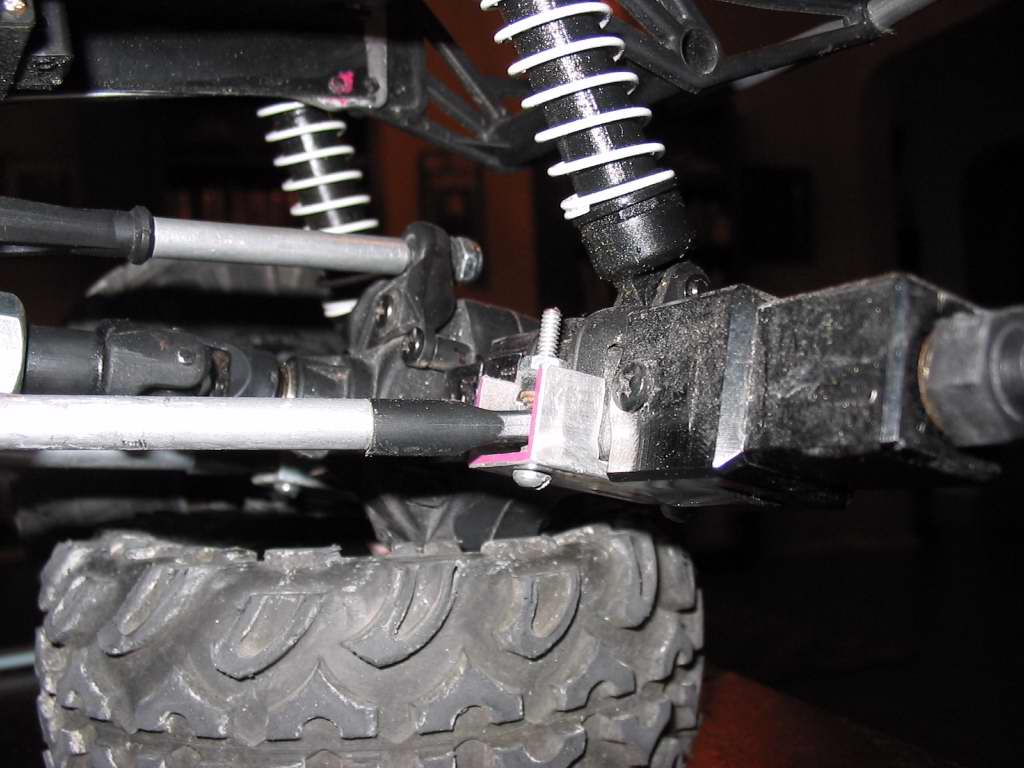
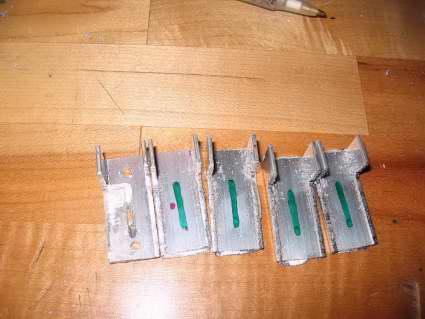
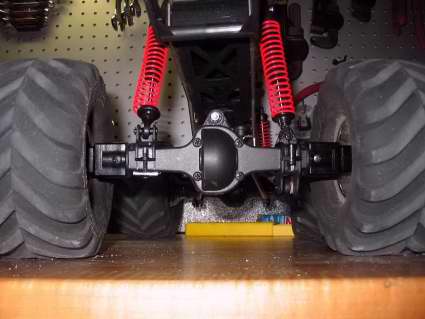
4. Once I decided this was definitly the way I wanted to go I cut out 4 new pieces that were a little longer. They came out to be right at 36mm, though I think they could have been a little longer still. If I were to redo these I'd make them 39mm. The section with the sides came out to be right at 8mm. Take note that I did not cut the sides down completely flush with the bottom. I left about 2mm on each side, and ground down one side to be flush. This is because the WK axle is tapered and there is a little nub on the outside that you will want to fit for. My mounts ended up just fitting over that nub and worked out perfectly. You can also see where I marked the center to be ground out with the dremel to fit over the center nub on the housing.

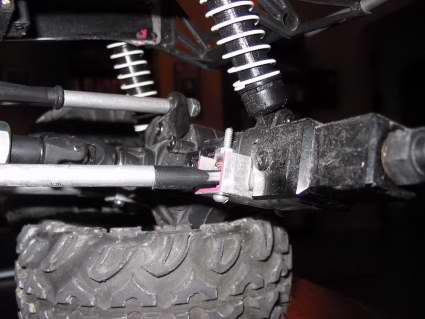
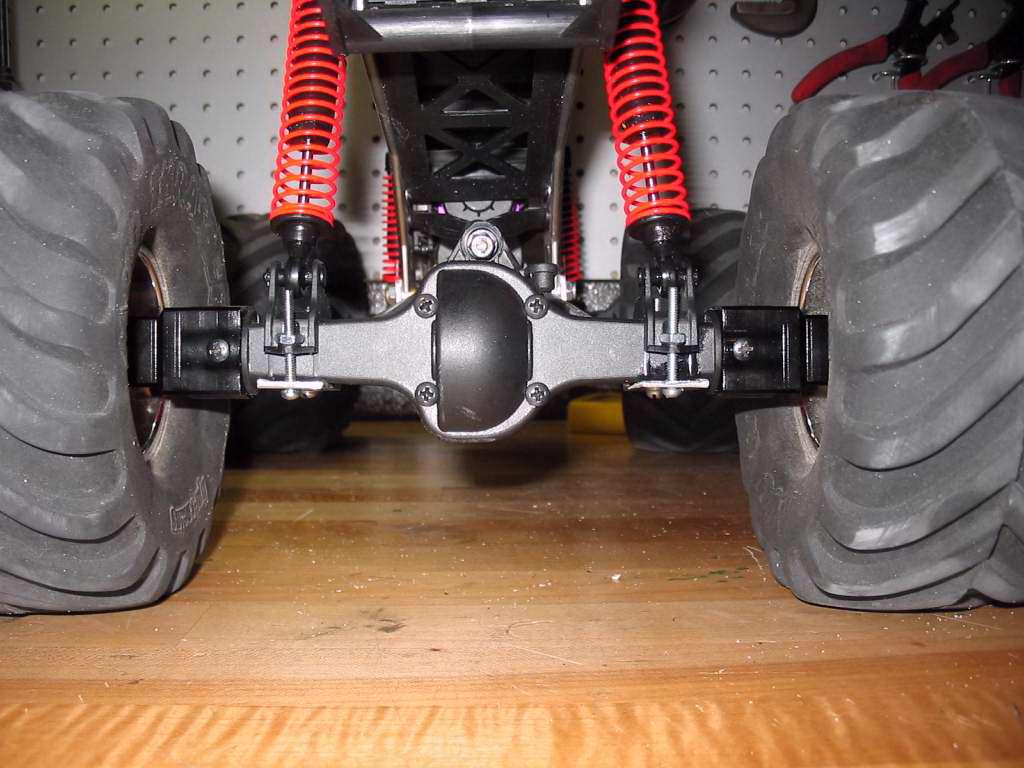
5. So here is where I decided to modify the stock mounts. I wanted to flip the stock link mount to the top of the axle to mount the shock. To do so I decided to cut out some material to prevent binding. Mounting the shocks this way allows them to cycle a little smoother and not bind with the longer wheelbase.
6. After cutting out your pieces and mocking everything up, you'll need to address your links. I extended my rear upper link but trimed the lowers a bit. The idea is to make sure that the rear driveshaft isn't hanging below the links. In the front, I wanted to keep the wheelbase the same so I wouldn't have to tinker with steering. I also found that the fat HPI links needed a light touch with the dremel to stop them from rubbing on the axle housing... NOT much ... just a tad off outside. If you extend the wheelbase more as a result of this, don't forget you'll need to trim more body.
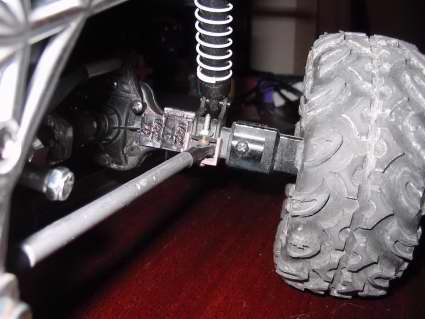
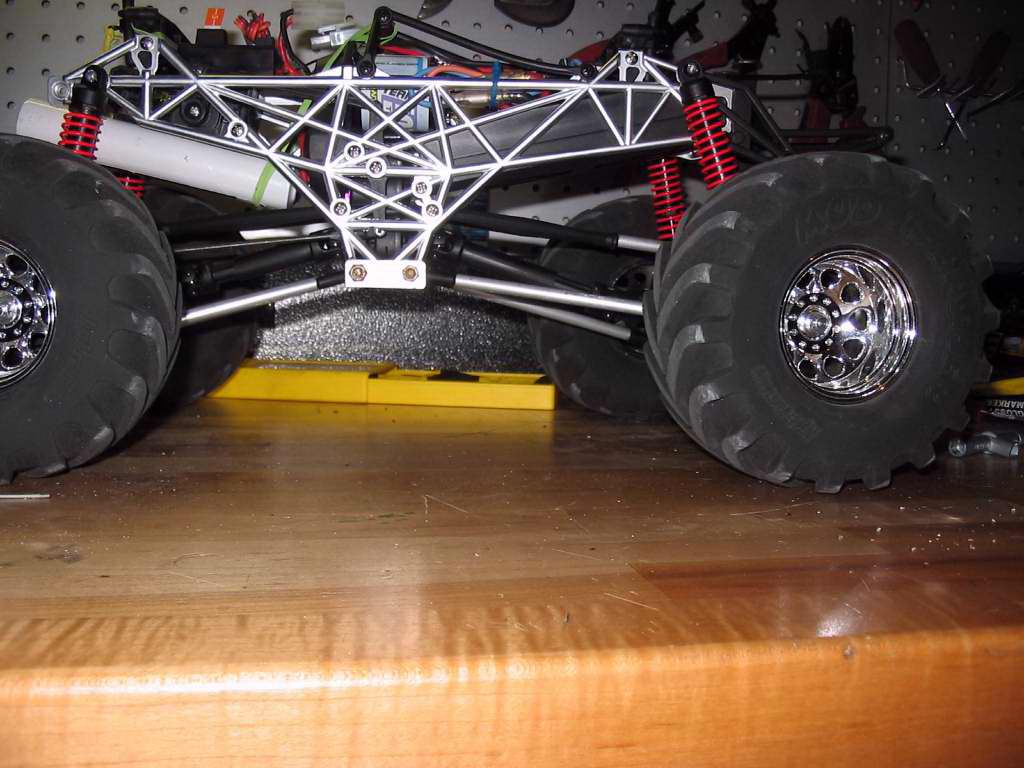
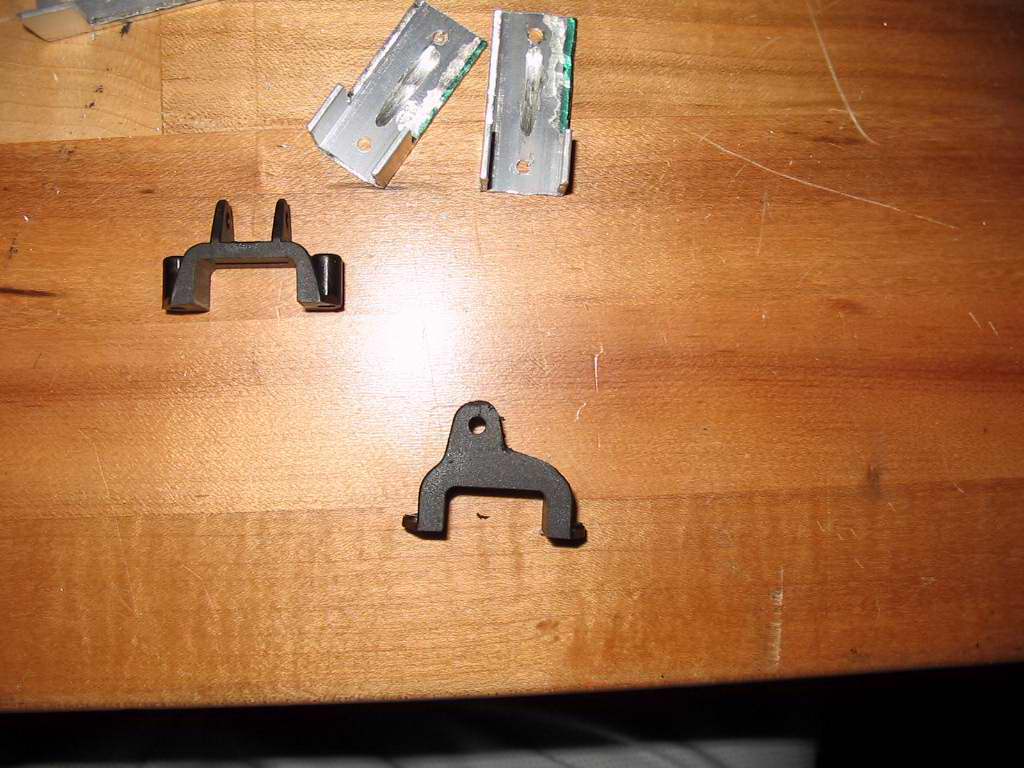
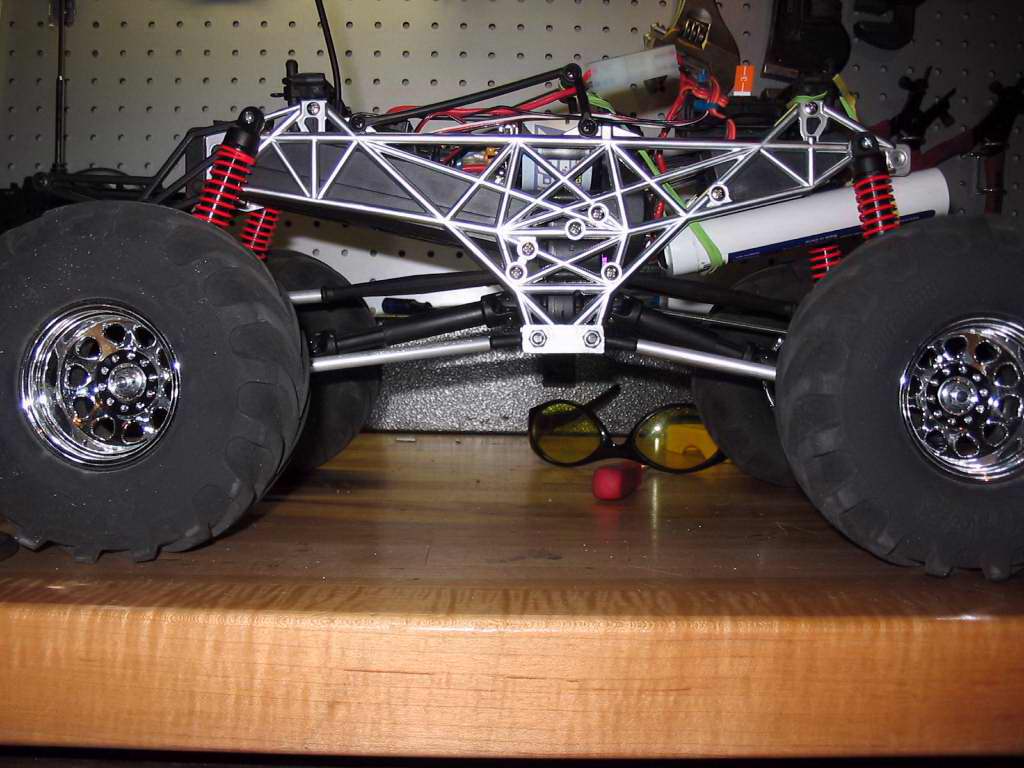
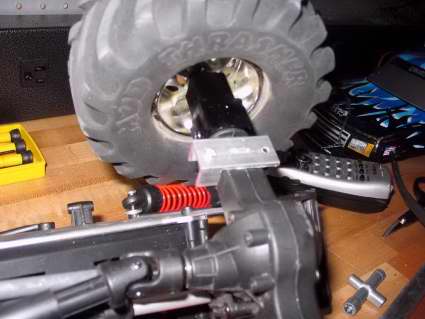
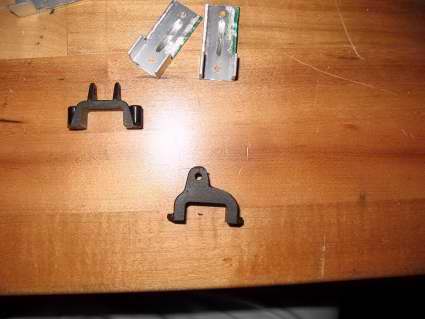
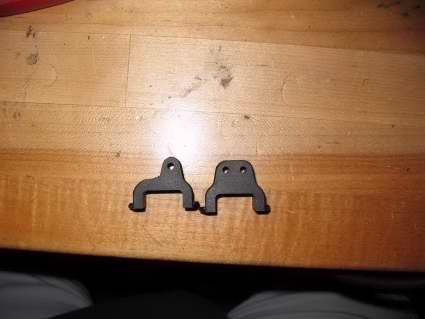
7. Here you can see the stock mount compared to my mount. The second shows a completed axle.

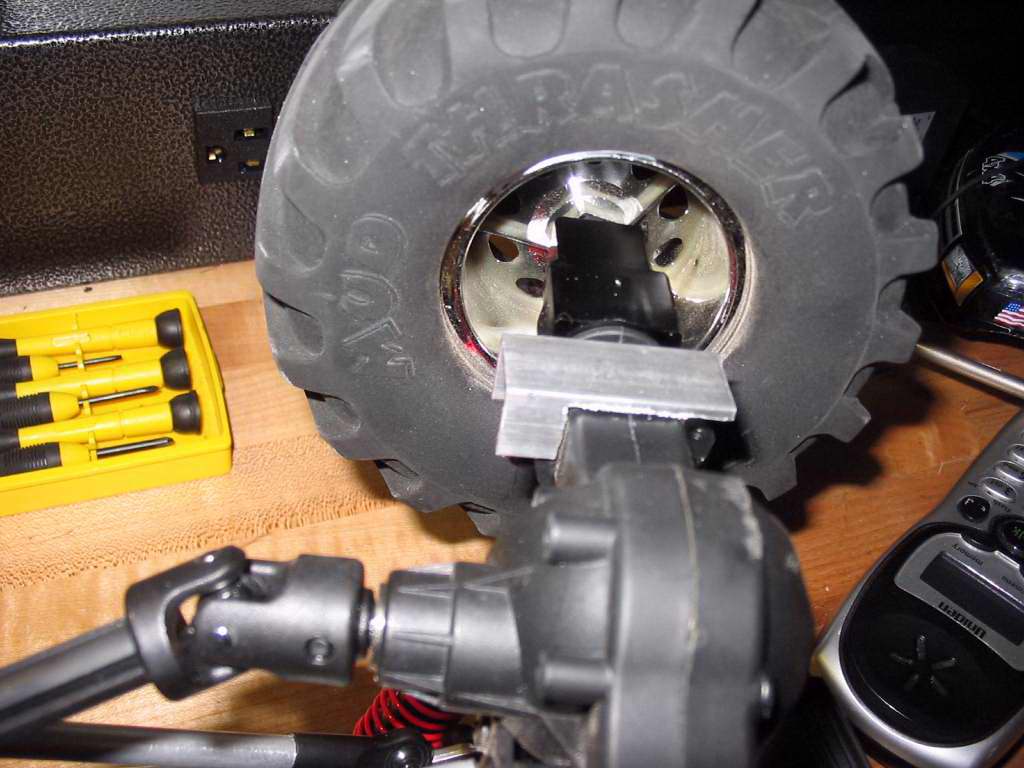
8. This set shows the difference between the updated rear and stock mount front to the updated front & rear mounts.
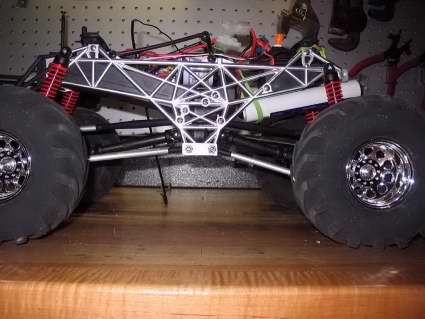
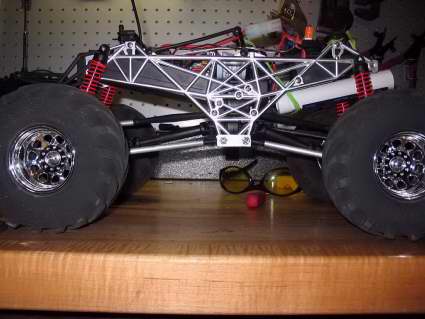
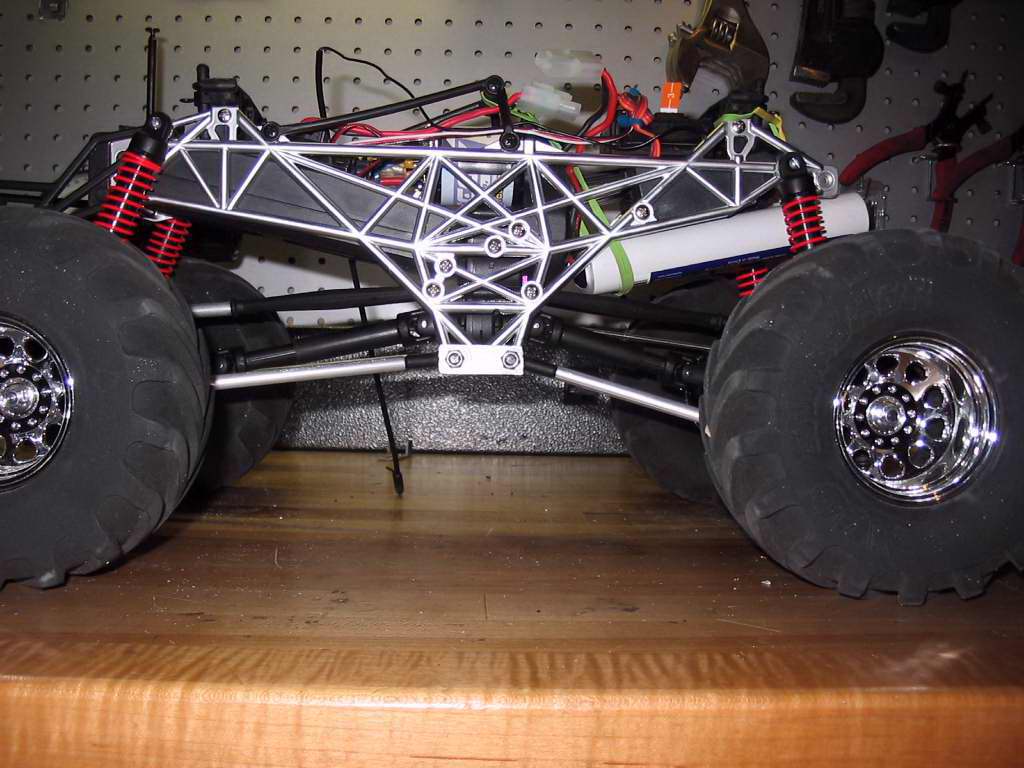
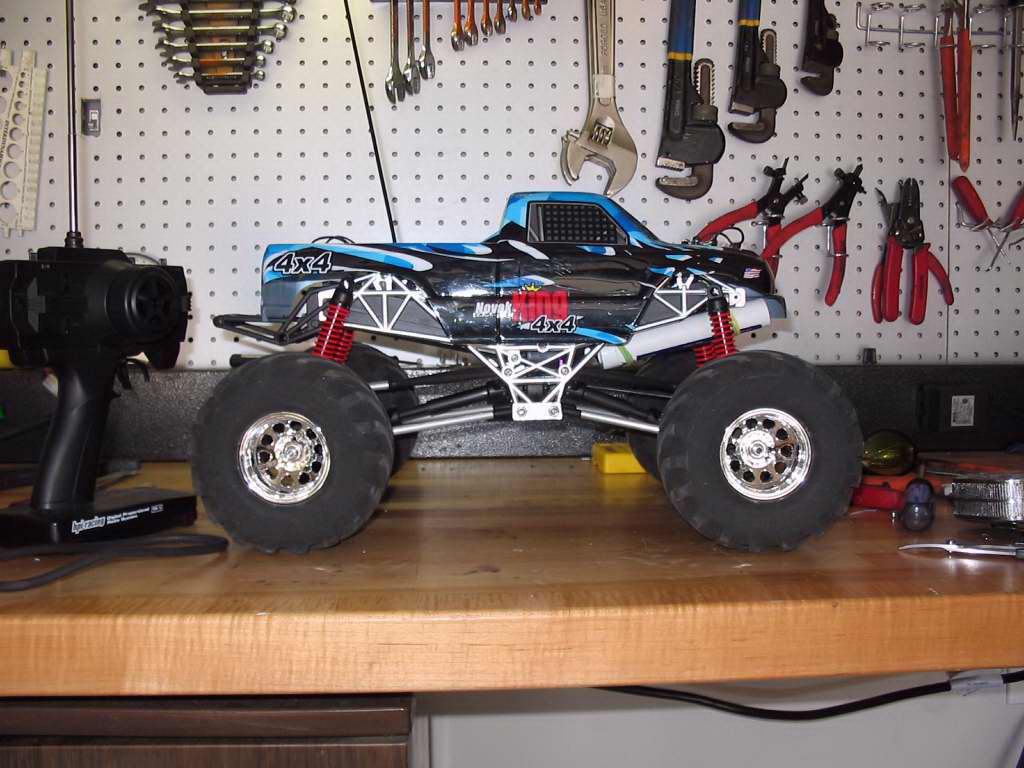
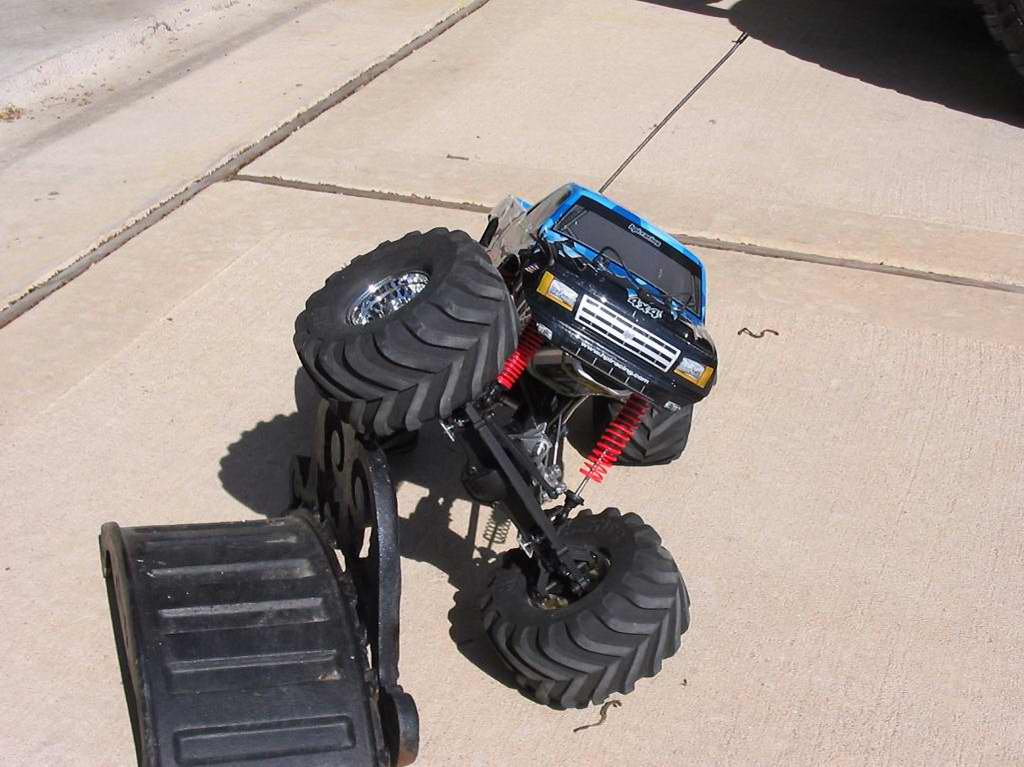
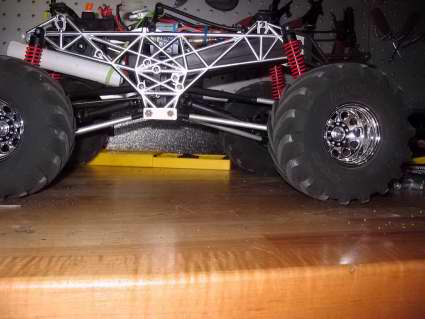
9. A few poser shots. It actually flexes a little better than it did before this conversion (shock binding) so I'd say it's a complete success.


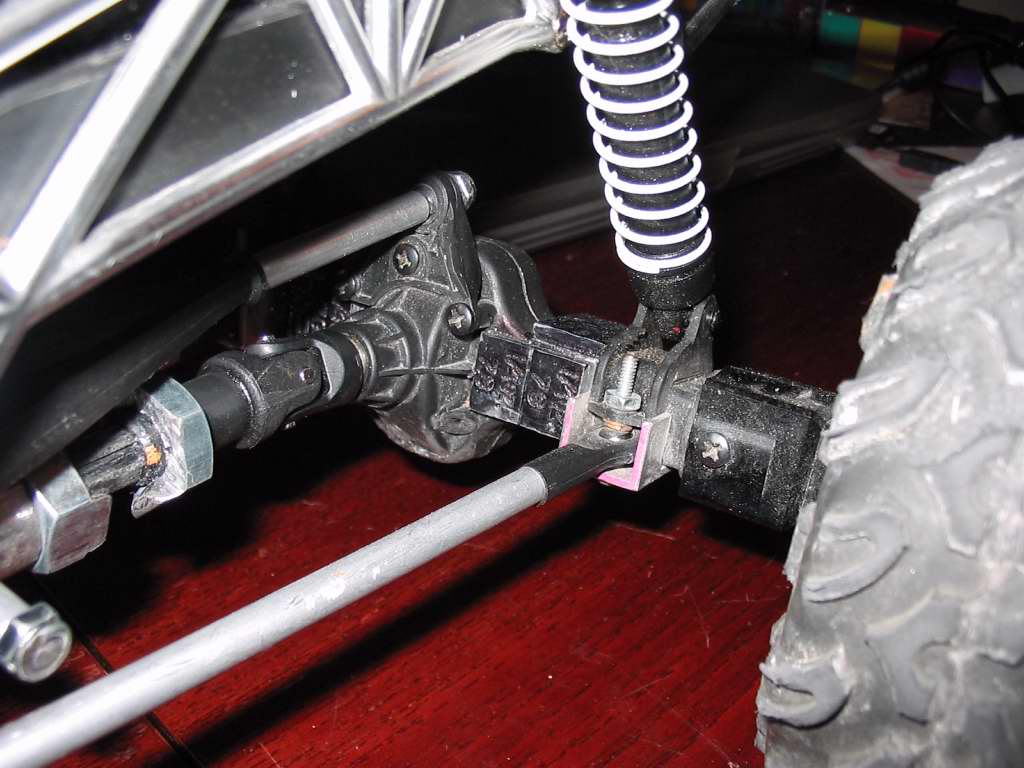
10. Here are a few closeups from different angles that I have since taken: