My covered bridge project
I've been wanting to build one for a while now, and with the Turkey Run comp in Greenville, KY around the corner I figured what better time than now. The goal was to complete the project using stuff around the house and up to $50 in store bought materials. I hit the number on the head  .
.
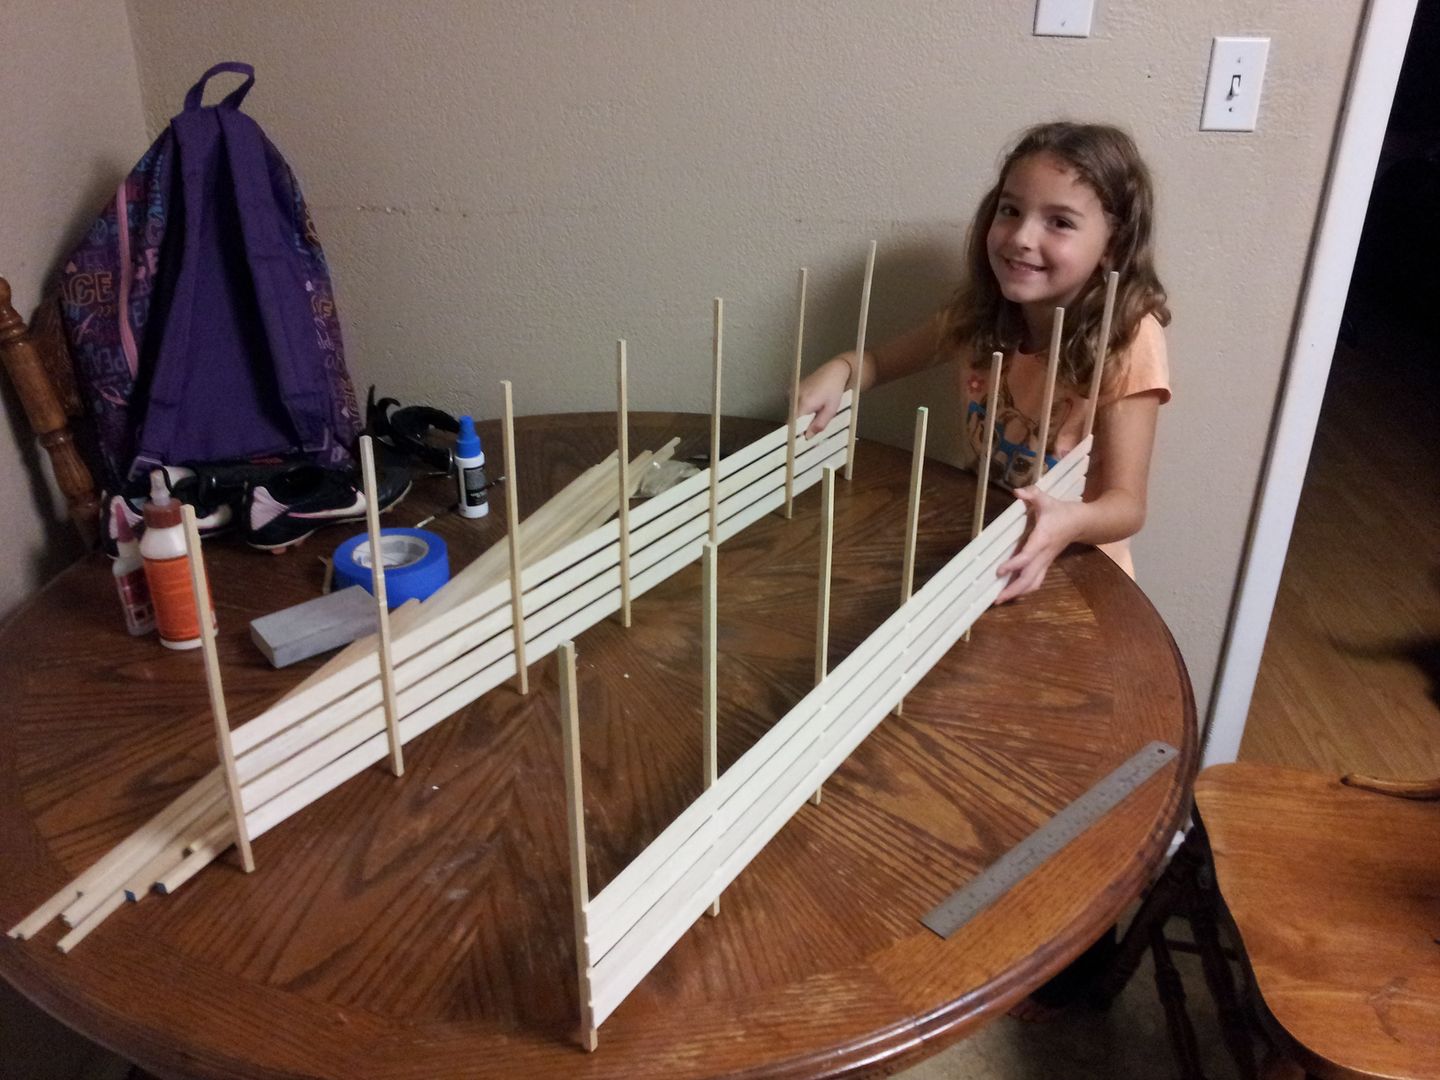
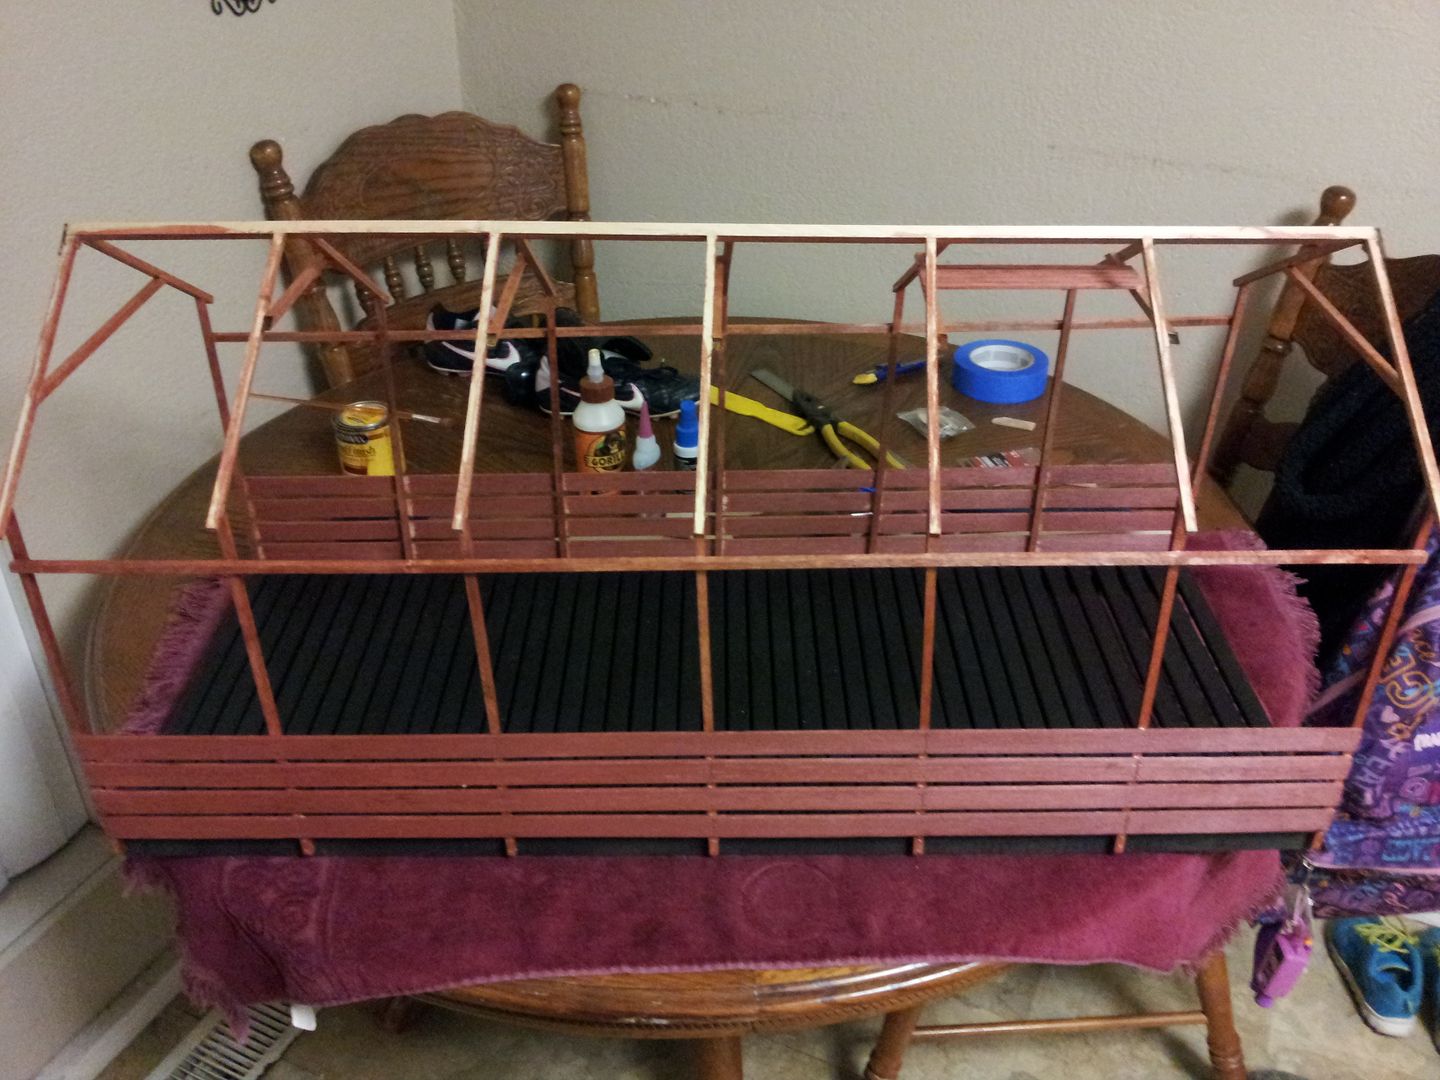
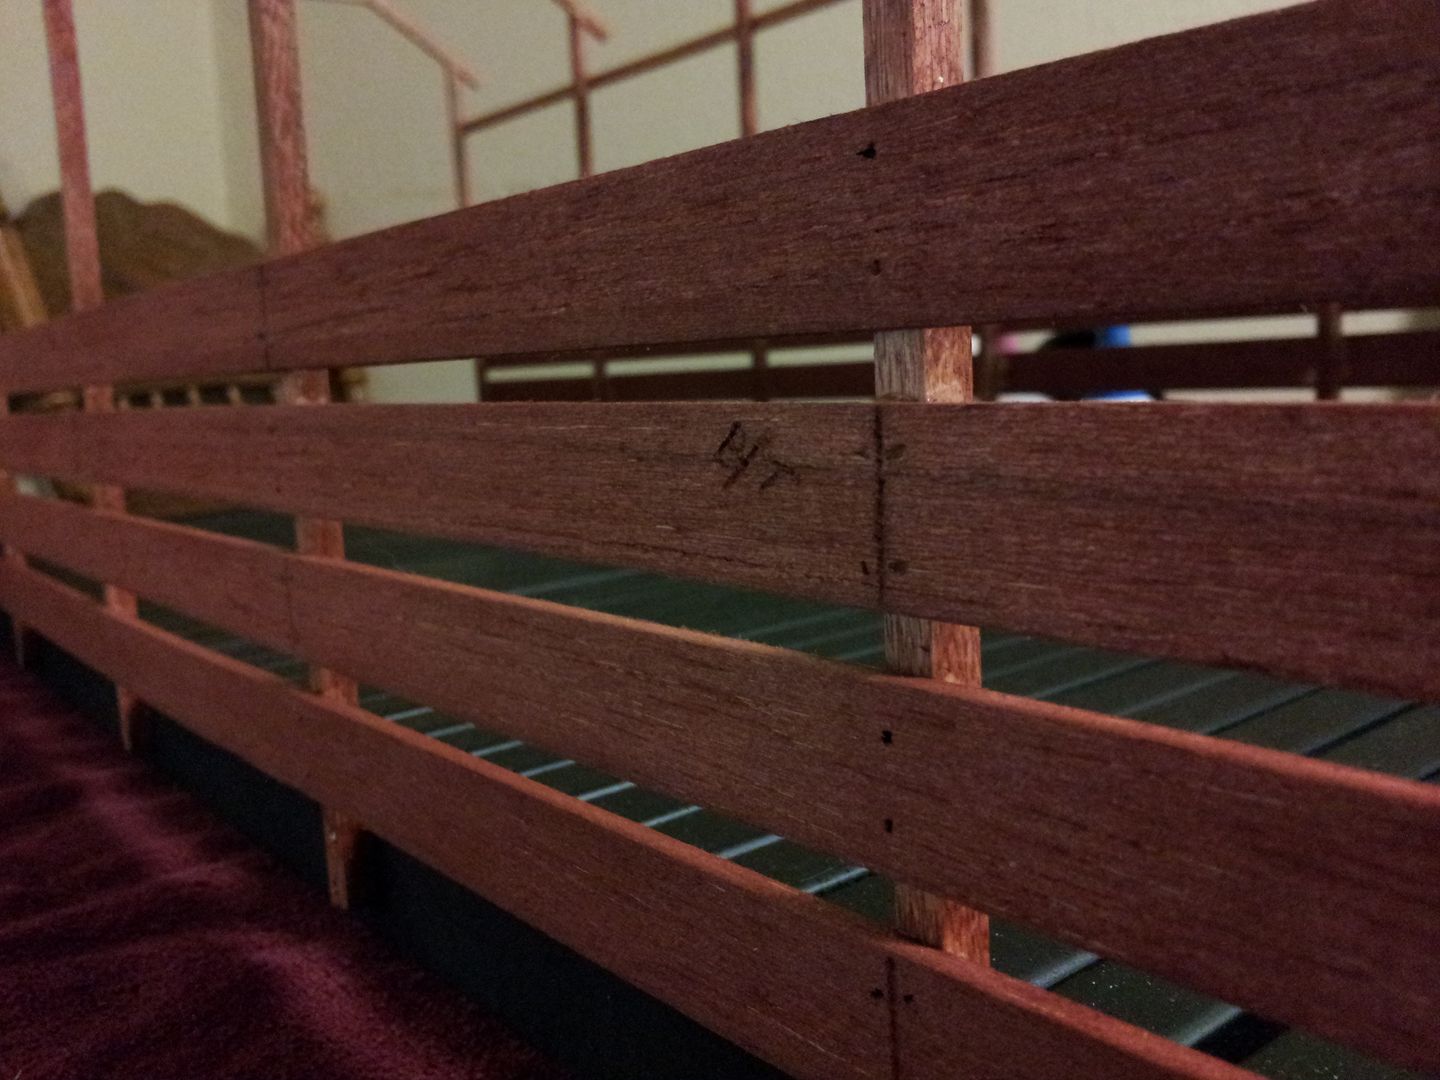
My daughter and I tackled the project over the weekend. Here are the freshly assembled side panels. We used balsa wood for the wider side panels. That was my first mistake because I found pieces at Home Depot that I could've used that were a little cheaper.
After a trip to HD I had enough material to finish the base of the bridge. I made it right at 14" wide, big enough to fit nearly any class of scale rig thru. I made a slight miscalculation on the spacing which can be seen on one end.
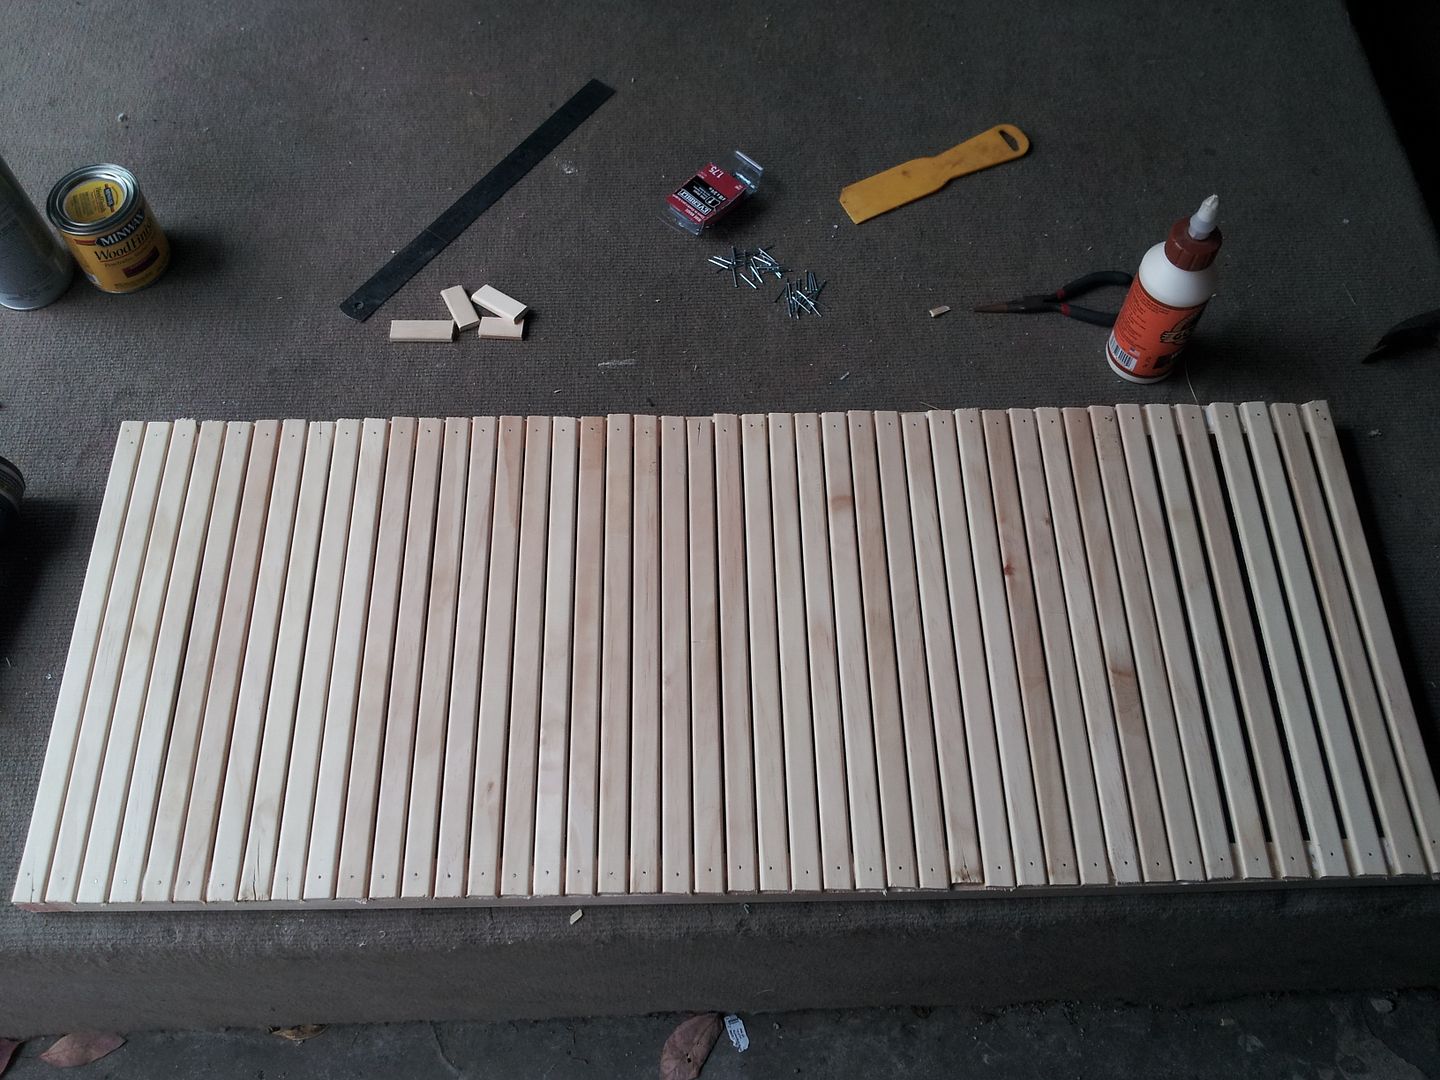
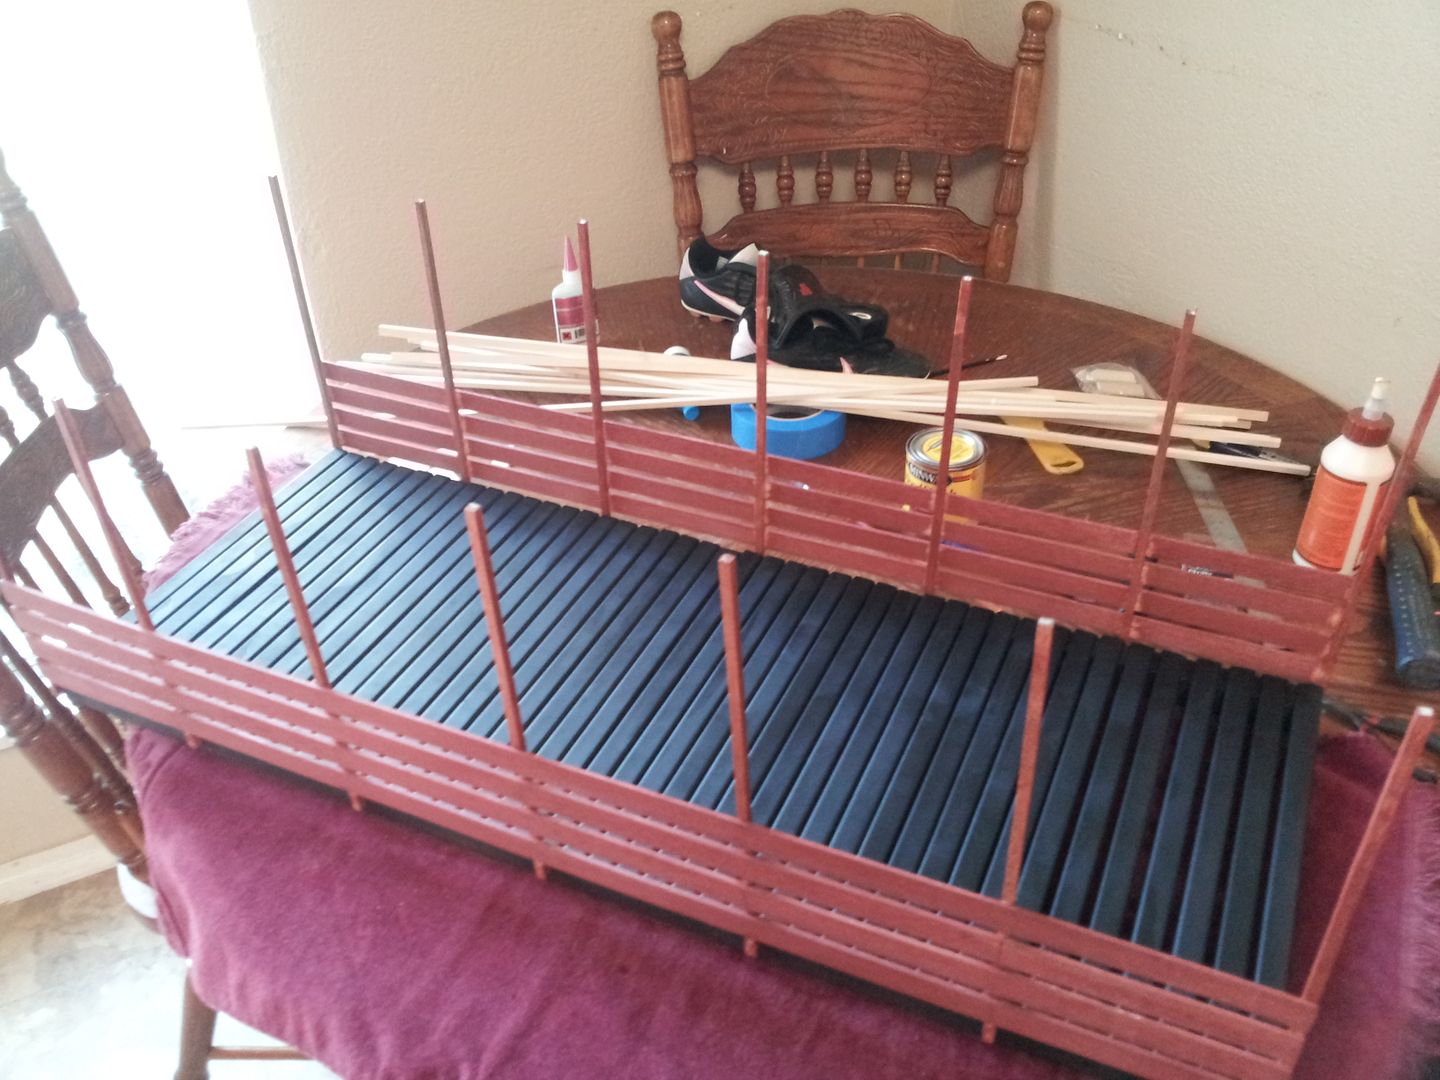
The colors of choice are Sedona red stain for the sides and flat black paint for the bottom. I used Gorilla wood glue on the joints as well as CA glue to hold them in place while the Gorilla glue cured. I also used thin wire nails to add extra strength.
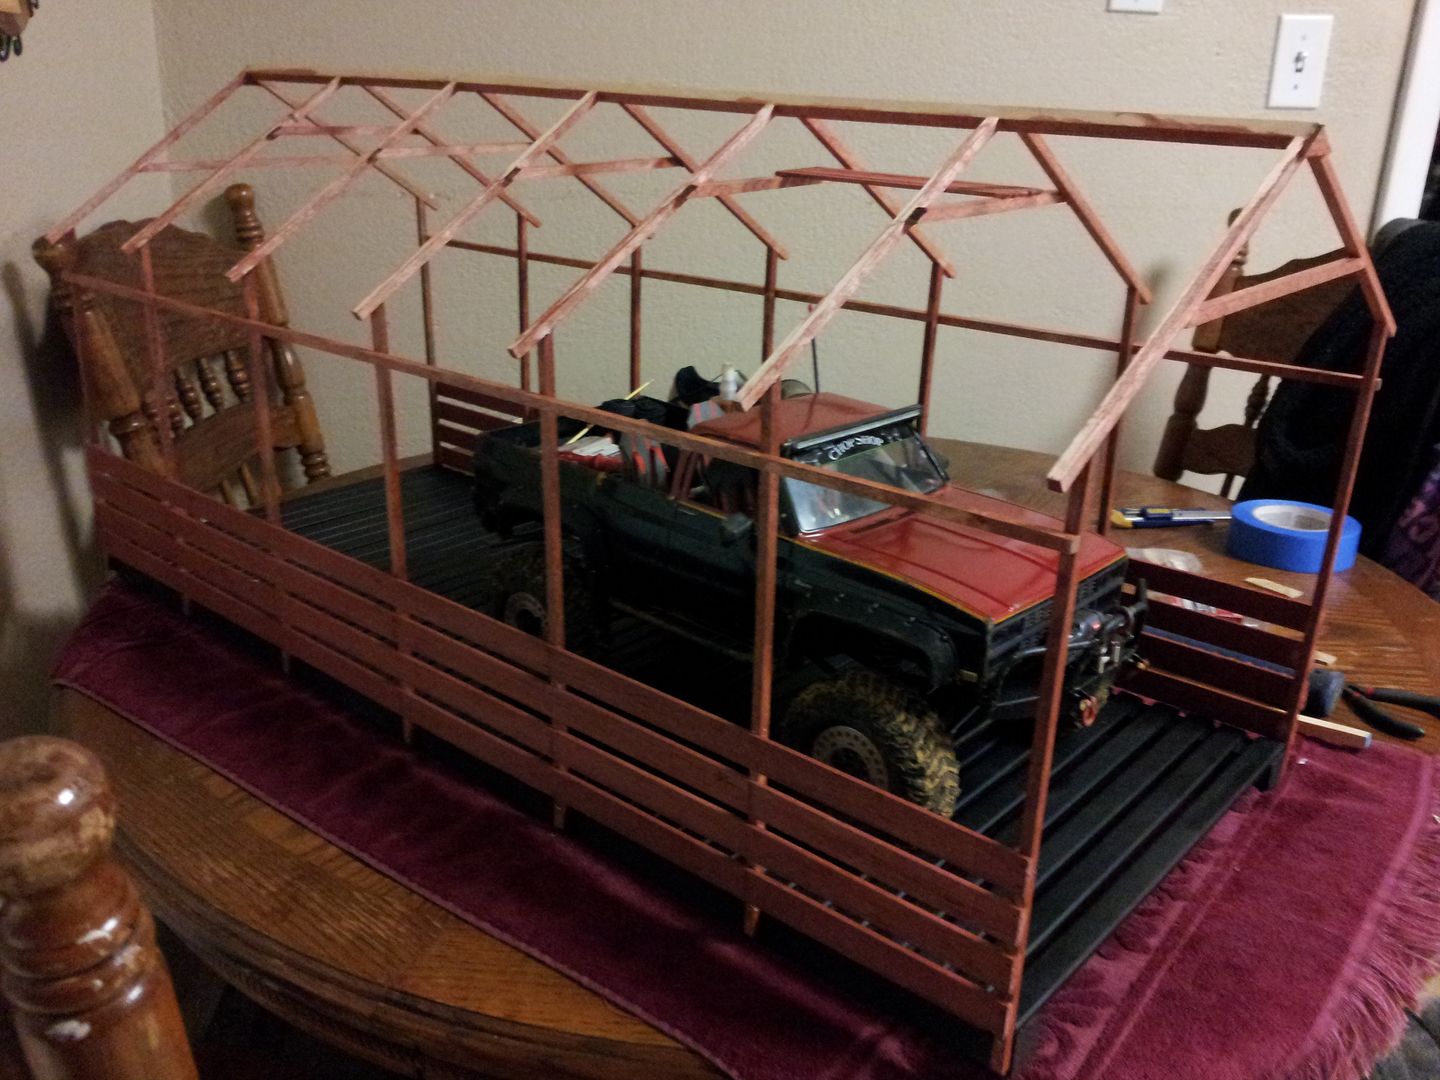
After the stain and all dried I assembled the rafters and roof joists. It'll be getting LEDs and some other scale touches so I added a small platform up top to mount the battery box and switch.
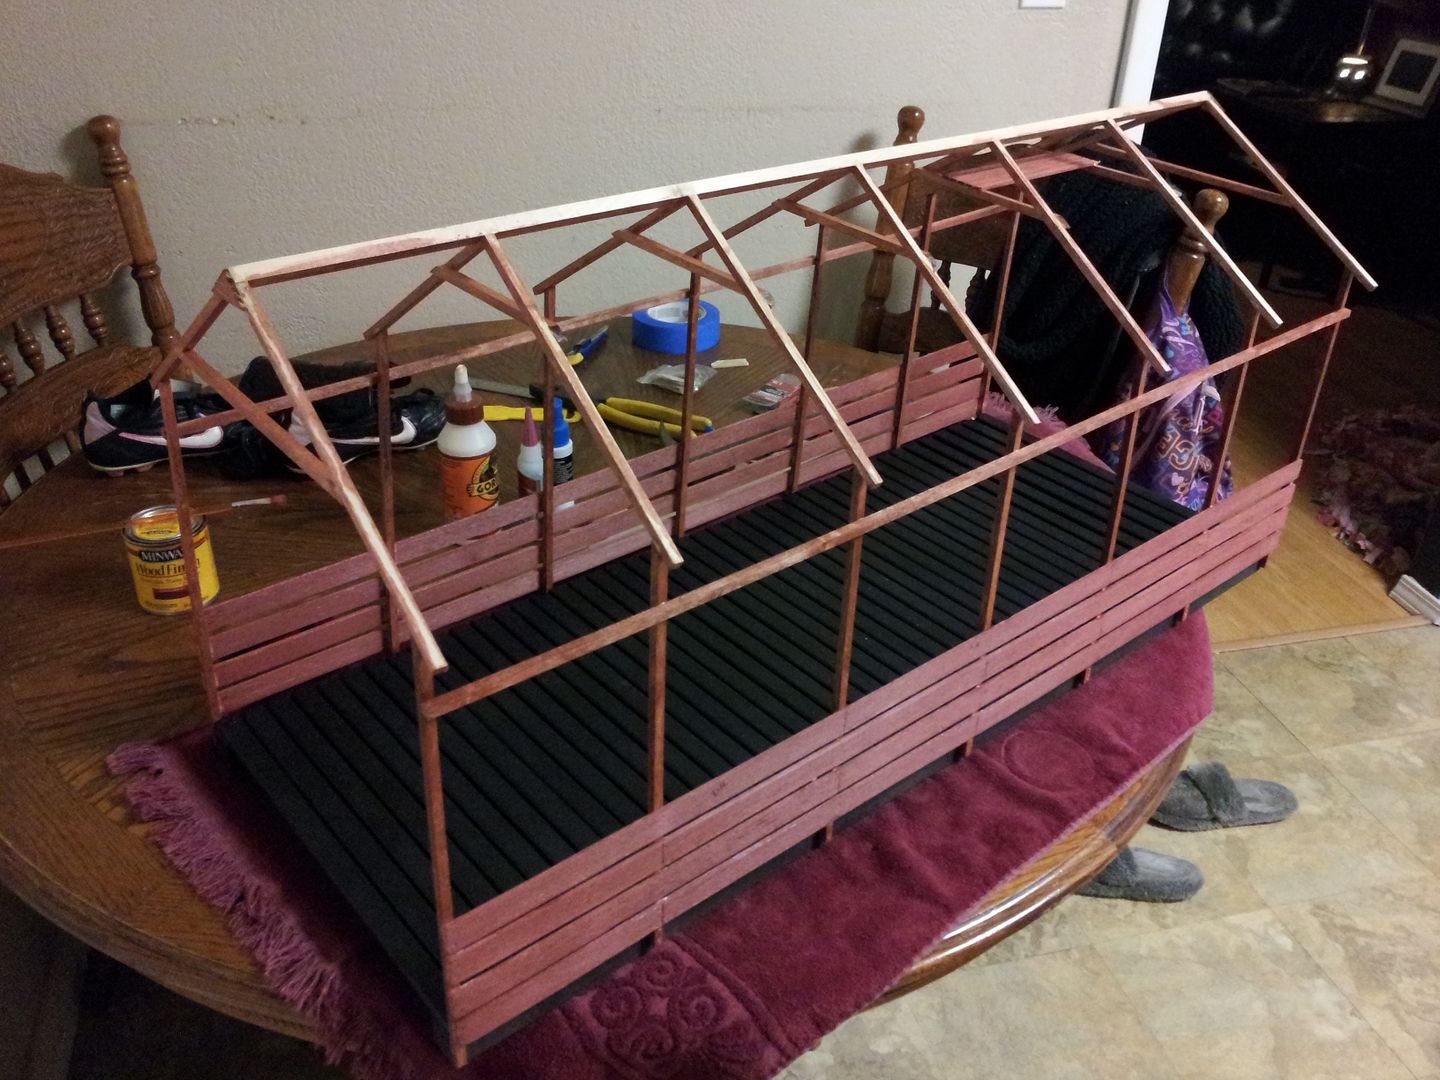
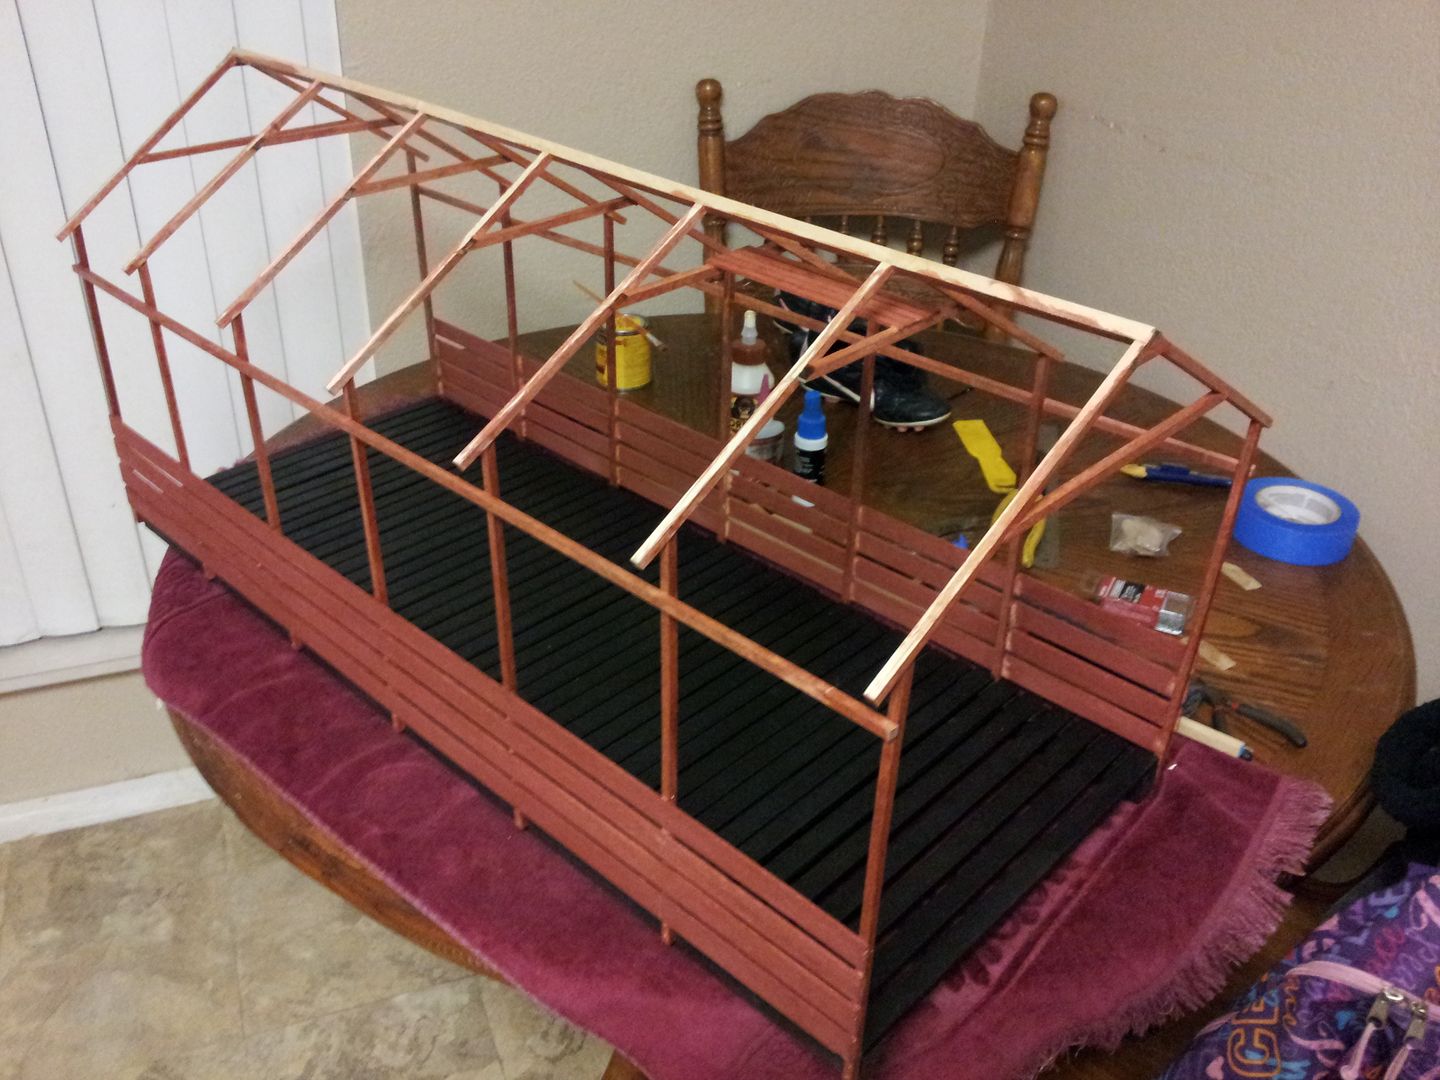
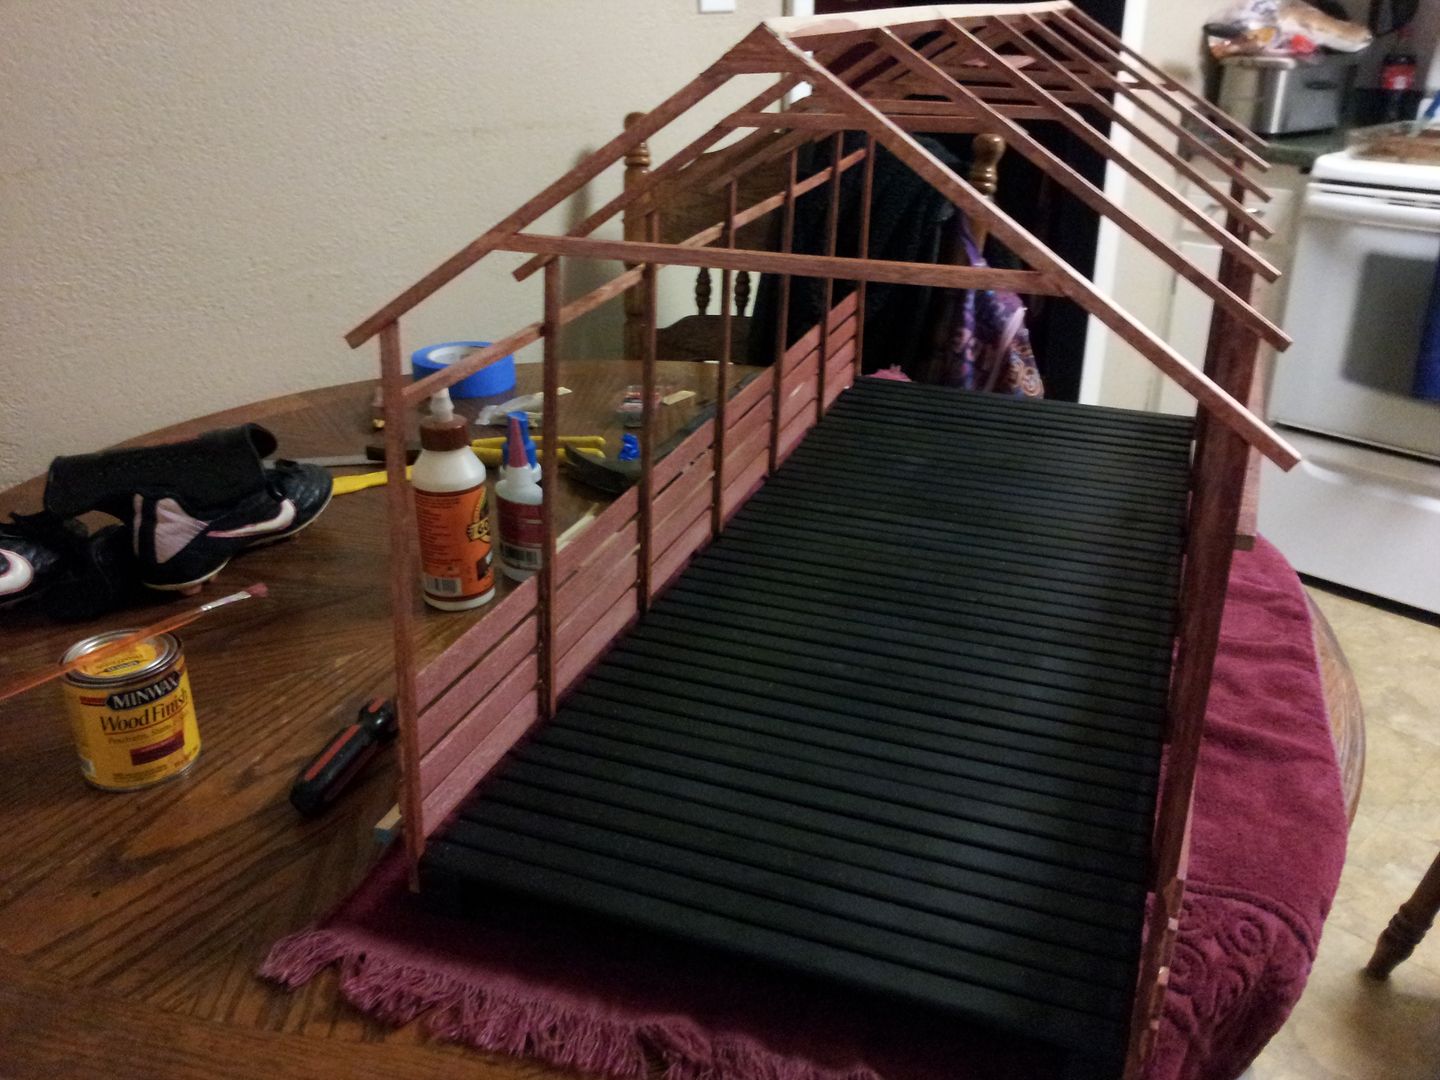
Overall dimensions are 14.5" wide, The sides are 12" tall to the lowest point and it's right at 3 foot long. I've got some 1/4" thick rough cut wood with some bark on the edges to make the wood shake shingles out of for the roof. I plan on knocking that out some time this week.

.My daughter and I tackled the project over the weekend. Here are the freshly assembled side panels. We used balsa wood for the wider side panels. That was my first mistake because I found pieces at Home Depot that I could've used that were a little cheaper.

After a trip to HD I had enough material to finish the base of the bridge. I made it right at 14" wide, big enough to fit nearly any class of scale rig thru. I made a slight miscalculation on the spacing which can be seen on one end.

The colors of choice are Sedona red stain for the sides and flat black paint for the bottom. I used Gorilla wood glue on the joints as well as CA glue to hold them in place while the Gorilla glue cured. I also used thin wire nails to add extra strength.

After the stain and all dried I assembled the rafters and roof joists. It'll be getting LEDs and some other scale touches so I added a small platform up top to mount the battery box and switch.


Overall dimensions are 14.5" wide, The sides are 12" tall to the lowest point and it's right at 3 foot long. I've got some 1/4" thick rough cut wood with some bark on the edges to make the wood shake shingles out of for the roof. I plan on knocking that out some time this week.


